Dripping faucets, running toilets, and stubborn clogs can turn a simple day at home into a frustrating chore. These small plumbing issues may seem harmless but can lead to significant water waste and expensive bills before you notice anything is wrong. A running toilet alone can waste as much water as taking fifteen showers a day, and hidden leaks can quietly drain hundreds to thousands of gallons from your system each month.
You do not need to be a professional to fix many of the most common plumbing problems in your home. With practical, step-by-step solutions, you can save water, control your utility costs, and avoid unnecessary visits from the plumber. Get ready to discover simple methods and clever tips that will help you tackle the most frequent plumbing troubles with confidence.
Table of Contents
- Fixing a Running Toilet Efficiently
- Unclogging a Blocked Drain Safely
- Replacing a Faulty Faucet Washer
- Repairing a Leaky Pipe Joint
- Resetting a Hot Water Tank
- Thawing Frozen Pipes with Care
- Stopping Common Toilet Tank Leaks
Quick Summary
| Key Message | Explanation |
|---|---|
| 1. Diagnose toilet leaks promptly | Use a dye test by adding food coloring to the tank; check for color in the bowl after 15 minutes. |
| 2. Mechanical unclogging methods are safest | Start with a plunger or drain snake before resorting to chemicals to effectively clear blockages. |
| 3. Regularly check and replace faucet washers | Inspect faucets for drips and replace washers every few years to prevent leaks and water waste. |
| 4. Use pipe repair clamps for leaks | A pipe repair clamp can effectively seal leaks without needing full pipe replacement, saving time and money. |
| 5. Ensure safe hot water tank resets | For electric heaters, turn off the breaker and wait a minute before turning it back on to reset safely. |
1. Fixing a Running Toilet Efficiently
A running toilet might seem like a minor annoyance, but it can waste significant amounts of water and dramatically increase your utility bills. Understanding how to diagnose and repair a running toilet can save you hundreds of gallons of water and prevent unnecessary expenses.
Running toilets typically result from problems within the toilet tank, most commonly involving the flapper valve, fill valve, or float mechanism. These components can deteriorate over time, causing continuous water leakage into the toilet bowl. Hundreds of gallons can be wasted monthly through these seemingly small leaks.
To diagnose a running toilet, start by removing the tank lid and observing the internal components. Listen for continuous water flow or hissing sounds, which indicate a leak. You can also perform a simple dye test: drop food coloring into the tank and wait 15 minutes without flushing. If color appears in the bowl, you have a leak.
Most running toilet repairs involve replacing the flapper valve, a rubber seal that prevents water from continuously flowing from the tank to the bowl. These valves are inexpensive and can be replaced with basic tools like an adjustable wrench and replacement flapper. First, turn off the water supply valve located near the base of the toilet. Flush to empty the tank, then disconnect the chain from the flush lever and remove the old flapper.
Install the new flapper by connecting it to the overflow tube and reattaching the flush lever chain. Ensure a tight seal and proper alignment. Turn the water supply back on and test the toilet by flushing and checking for continuous running or leaking.
Pro tip: Replace your toilet’s flapper every 4 to 5 years, even if it appears functional, to prevent unexpected leaks and maintain optimal toilet performance.
2. Unclogging a Blocked Drain Safely
Blocked drains can quickly turn from a minor inconvenience into a major household headache, potentially causing water damage and expensive plumbing repairs if left unaddressed. Understanding safe and effective unclogging methods is crucial for every homeowner.
Before reaching for harsh chemical solutions, consider that mechanical methods are often safer and more effective for clearing drain blockages. A plunger remains your first line of defense for near surface clogs, creating suction that can dislodge many common blockages in sinks, showers, and toilets.
For more stubborn clogs, a drain snake or auger provides a mechanical solution that can reach deeper into pipes. These tools allow you to physically break up or remove debris without risking damage to your plumbing system. Insert the snake slowly, rotating it to catch and remove hair, soap scum, and other accumulated materials.
Natural remedies offer an environmentally friendly alternative to chemical cleaners. A mixture of baking soda and vinegar can help break down minor blockages. Pour one cup of baking soda down the drain, followed by one cup of white vinegar. Cover the drain and let the mixture sit for 15 minutes, then flush with hot water to clear the pipes.
Preventative maintenance is key to avoiding future clogs. Install drain guards in sinks, showers, and tubs to catch hair and debris before they enter the pipes. Regularly clean these guards and flush drains with hot water to prevent buildup.
Pro tip: Keep a small bucket of baking soda and vinegar near your drains for quick, environmentally friendly cleaning and maintenance.
3. Replacing a Faulty Faucet Washer
A dripping faucet is more than just an annoying sound it represents wasted water and potential damage to your plumbing system. Learning how to replace a faulty faucet washer can save you money on water bills and prevent more extensive repairs down the line.
Outdoor faucet leaks often stem from worn washers that can cause continuous dripping and water loss. These small rubber or plastic components play a crucial role in creating a watertight seal within your faucet mechanism.
To replace a faulty faucet washer, you will need a few basic tools: an adjustable wrench, replacement washers, and a screwdriver. Start by turning off the water supply to the faucet typically located under the sink or at the main water valve. This critical step prevents water from flowing while you work.
Remove the faucet handle by unscrewing the decorative cap and taking out the retaining screw. Carefully extract the handle and locate the packing nut. Loosen this nut and remove the valve stem assembly. Inspect the existing washer for signs of wear like cracking, compression, or discoloration.
Select a replacement washer that matches the exact size and shape of the original. Hardware stores typically carry an assortment of washers to fit different faucet models. Clean the valve seat thoroughly before installing the new washer to ensure a proper seal. Reassemble the faucet components in the reverse order of disassembly, making sure all parts are securely tightened.
Pro tip: Always purchase a few extra washers during your repair to have replacements on hand for future maintenance needs.
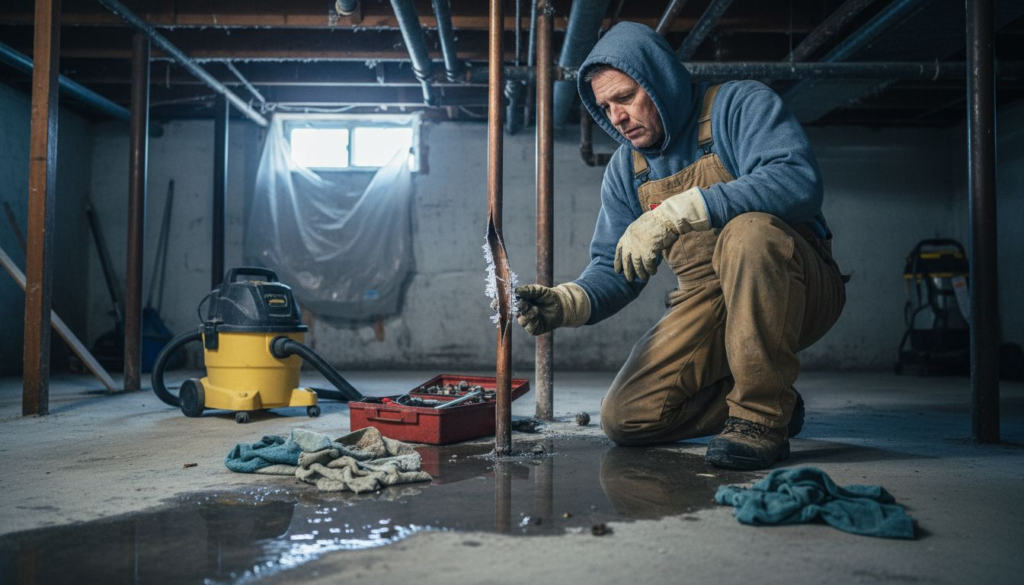
4. Repairing a Leaky Pipe Joint
A leaky pipe joint can quickly escalate from a minor annoyance to a major home disaster, potentially causing water damage, mold growth, and significant repair expenses. Understanding how to address these leaks promptly can save homeowners substantial time and money.
Pipe repair clamps provide an effective solution for sealing pipe joint leaks without complete pipe replacement. These versatile tools come in several varieties including full-encirclement, bell joint, and multi-band clamps designed to address different pipe configurations and damage types.
Before attempting any repair, turn off the water supply to prevent additional leakage and potential water damage. Carefully dry and clean the area around the leak, removing any rust, debris, or mineral buildup that could prevent proper sealing. Inspect the pipe joint thoroughly to determine the extent of the damage and whether a temporary repair will suffice.
To apply a pipe repair clamp, position it directly over the leaking section, ensuring it covers the entire damaged area. Tighten the bolts evenly and systematically to create a uniform seal. For small pinhole leaks, some homeowners might use specialized waterproof epoxy or silicone tape as a temporary solution, but a proper repair clamp offers more reliable long term protection.
Different pipe materials require specific approaches. Copper pipes might need soft copper repair clamps, while PVC pipes work best with specific plastic compatible clamps. Always match the repair tool to your specific pipe type to ensure a secure and lasting seal.
Pro tip: Keep a few universal pipe repair clamps in your home toolkit to address unexpected leaks quickly and prevent water damage.
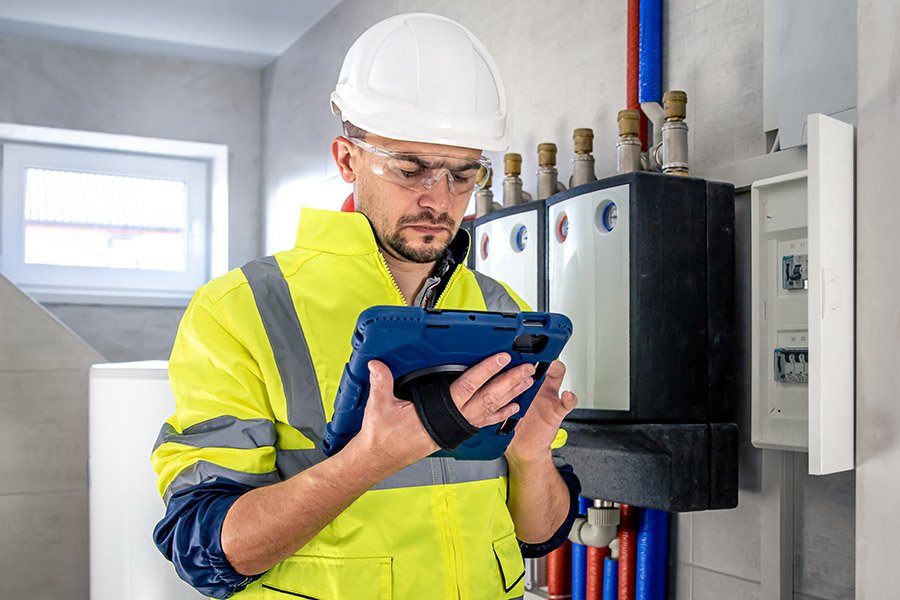
5. Resetting a Hot Water Tank
A malfunctioning hot water tank can disrupt your entire home’s comfort and daily routine, leaving you without hot water when you need it most. Understanding how to safely reset your water heater can save you time, money, and potential professional repair costs.
Modern water heaters include multiple safety features that can trigger automatic shutdowns when potential problems are detected. These safety mechanisms protect your home from potential gas leaks, electrical issues, or overheating risks.
Before attempting any reset, always prioritize safety. For electric water heaters, locate your home’s circuit breaker panel and find the specific breaker controlling the water heater. Turn the breaker completely off, wait 60 seconds, then turn it back on. This simple process can often reset the unit and resolve minor electronic interruptions.
For gas water heaters, the reset process requires more caution. Locate the reset button typically found near the thermostat. If the button has tripped, you will need to carefully follow the manufacturer’s instructions. Turn the gas control valve to the pilot position, wait a few minutes to allow any accumulated gas to dissipate, then relight the pilot according to the specific model’s guidelines.
If repeated reset attempts fail or you notice persistent issues like strange noises, water discoloration, or inconsistent heating, it is crucial to contact a professional plumber. These symptoms might indicate more serious problems that require expert diagnosis and repair.
Pro tip: Keep your water heater manufacturer’s manual in an easily accessible location near the unit for quick reference during troubleshooting.
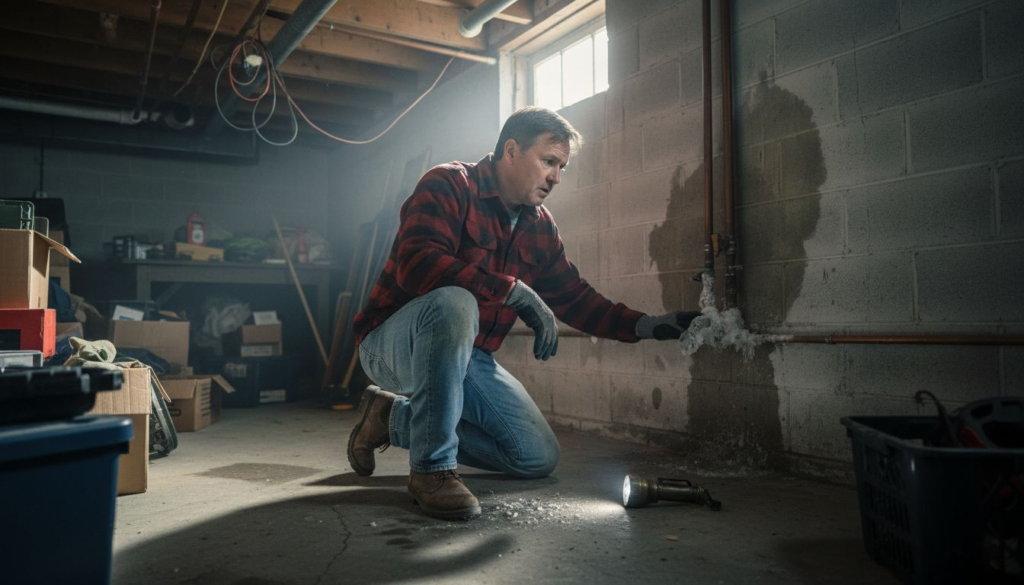
6. Thawing Frozen Pipes with Care
Frozen pipes pose a significant risk to homeowners during cold winter months, potentially leading to costly water damage and expensive repairs if not addressed carefully and quickly. Understanding how to safely thaw frozen pipes can prevent catastrophic pipe bursts and protect your home’s plumbing infrastructure.
Pipes most commonly freeze in unheated spaces such as crawl spaces, attics, exterior walls, and near exterior openings. Identifying these vulnerable areas is the first step in preventing and addressing frozen pipes before they become a serious problem.
Before attempting to thaw a frozen pipe, shut off the main water supply to prevent potential flooding if the pipe has already cracked. Locate the frozen section by feeling for extremely cold areas or checking for visible frost on the pipe’s exterior. Open the faucet connected to the frozen pipe to allow water to flow as the ice melts, which helps relieve built up pressure.
Apply gentle, controlled heat to the frozen pipe section using a hair dryer, heating pad, or electric heating tape. Move the heat source slowly along the pipe, starting from the faucet end and working toward the coldest section. Avoid using open flames or high heat sources like blowtorches, which can damage pipes or create fire hazards.
After successfully thawing the pipe, carefully inspect it for any cracks or damage that may have occurred during the freezing process. Run water through the pipe to ensure proper flow and check for any potential leaks. If you discover significant damage or are uncomfortable with the thawing process, contact a professional plumber immediately.
Pro tip: Install pipe insulation in vulnerable areas and keep your home’s interior temperature consistently above 55 degrees Fahrenheit during winter to prevent pipes from freezing in the first place.
7. Stopping Common Toilet Tank Leaks
Toilet tank leaks are silent water wasters that can dramatically increase your monthly utility bills without you even realizing it. Identifying and addressing these leaks promptly can save hundreds of gallons of water and prevent potential water damage to your bathroom.
Households lose significant water through toilet leaks every single day, with an average of 17 gallons wasted through undetected plumbing issues. Most toilet tank leaks originate from three primary components: the flapper valve, fill valve, or float mechanism.
To diagnose a toilet tank leak, perform a simple dye test. Drop a few drops of food coloring into the tank and wait 15 minutes without flushing. If colored water appears in the bowl, you have a leak. The most common culprit is typically a worn or misaligned flapper valve that fails to create a proper seal between the tank and bowl.
Replacing a faulty flapper is relatively straightforward. Turn off the water supply to the toilet, flush to empty the tank, and remove the old flapper. Clean the valve seat thoroughly and install a new flapper that matches your toilet model exactly. Ensure the chain connecting the flapper to the flush lever has the right amount of slack to allow complete closure.
For fill valve issues, check if the water level is set correctly. The water should stop about one inch below the top of the overflow tube. Adjust the float mechanism or replace the entire fill valve if it fails to maintain the proper water level consistently.
Pro tip: Keep a small repair kit with replacement flappers and fill valve components in your home maintenance toolbox to address toilet leaks quickly and efficiently.
Below is a comprehensive table summarizing the key home maintenance techniques and procedures discussed throughout the article.
| Task | Steps and Actions | Pro Tips |
|---|---|---|
| Fixing a Running Toilet | Diagnose by observing tank components and performing a dye test; replace faulty parts like flapper valves. | Replace toilet flappers every 4-5 years to prevent leaks. |
| Unclogging a Blocked Drain | Use mechanical methods like plungers or drain snakes; apply baking soda and vinegar solutions. | Install drain guards to prevent debris from causing clogs. |
| Replacing Faucet Washers | Disassemble the faucet, remove old washers, and install matching replacements. | Stock extra washers for future maintenance. |
| Repairing Leaky Pipe Joints | Clean and dry the area; use pipe repair clamps or waterproof tape for small repairs. | Keep universal repair clamps in your toolkit for emergencies. |
| Resetting a Water Heater | Turn off the electric circuit or gas valve; follow the manufacturer’s instructions to reset. | Maintain the user manual handy for quick guidance. |
| Thawing Frozen Pipes | Shut off the main supply; apply controlled heat using safe tools like hairdryers. | Insulate vulnerable pipes and maintain indoor warmth above 55°F. |
| Stopping Toilet Tank Leaks | Diagnose leaks with a dye test; replace flapper and adjust fill valve settings as required. | Keep repair materials accessible for quick issue resolution. |
Protect Your Home with Expert Plumbing Repairs from Davinroy Plumbing
Plumbing problems like running toilets, frozen pipes, or leaking faucets can quickly turn into costly headaches if not handled efficiently. This article highlights common challenges such as faulty flapper valves, clogged drains, and pipe joint leaks that disrupt your daily comfort and inflate your water bills. Whether you are facing a stubborn clog or need to reset your hot water tank safely, professional help can save you time, water, and stress.
Get peace of mind with trusted plumbing services from Davinroy Plumbing serving Belleville, Illinois. Our skilled technicians specialize in toilet repair, hot water tank service, and frozen pipe repair to keep your home running smoothly. Don’t let minor plumbing issues become major expenses. Visit Davinroy Plumbing today and schedule your service to protect your home and save water now. Learn more about how we handle common repairs like toilet repair and frozen pipe repair to stop leaks and damage before they worsen.
Frequently Asked Questions
How do I fix a running toilet effectively?
To fix a running toilet, first, identify the problem component, typically the flapper valve. Turn off the water supply, empty the tank, and replace the flapper if it’s worn. This quick repair can save you hundreds of gallons of water each month.
What steps should I take to unclog a blocked drain safely?
To safely unclog a blocked drain, start with a plunger to clear near-surface clogs. If that doesn’t work, use a drain snake to reach deeper into the pipes and remove stubborn blockages. Always avoid harsh chemical cleaners to prevent damage to your plumbing.
How can I replace a faulty faucet washer?
To replace a faulty faucet washer, begin by turning off the water supply to the faucet. Remove the faucet handle, loosen the packing nut, and replace the worn washer. Ensure a proper seal to prevent future leaks, which can save water and reduce your bills.
What is the best way to repair a leaky pipe joint?
For a leaky pipe joint, use a pipe repair clamp that fits your specific pipe type. Start by turning off the water supply, cleaning the area around the leak, and positioning the clamp over the damaged section. Tighten the clamp to create a secure seal and prevent water damage.
How do I reset a hot water tank safely?
To reset a hot water tank, turn off the circuit breaker for electric units or find the reset button for gas units. Wait a minute before turning the breaker back on or pressing the reset button. This can resolve minor issues and restore hot water quickly.
What should I do if my pipes are frozen?
If your pipes are frozen, first shut off the main water supply to prevent flooding if they crack. Then, carefully apply gentle heat to the frozen section using a hair dryer or heating pad, starting from the faucet. This process can help thaw the pipes safely and prevent extensive damage.