Every year, more than 10 percent of American households experience a significant plumbing leak that leads to water damage. For Belleville homeowners, an urgent bathroom issue can mean lost time, money, and peace of mind, especially when professional help is not immediately available. This practical guide offers step by step advice on tackling common bathroom plumbing problems so you can solve them yourself or know exactly when to call the team at Davinroy Plumbing.
Table of Contents
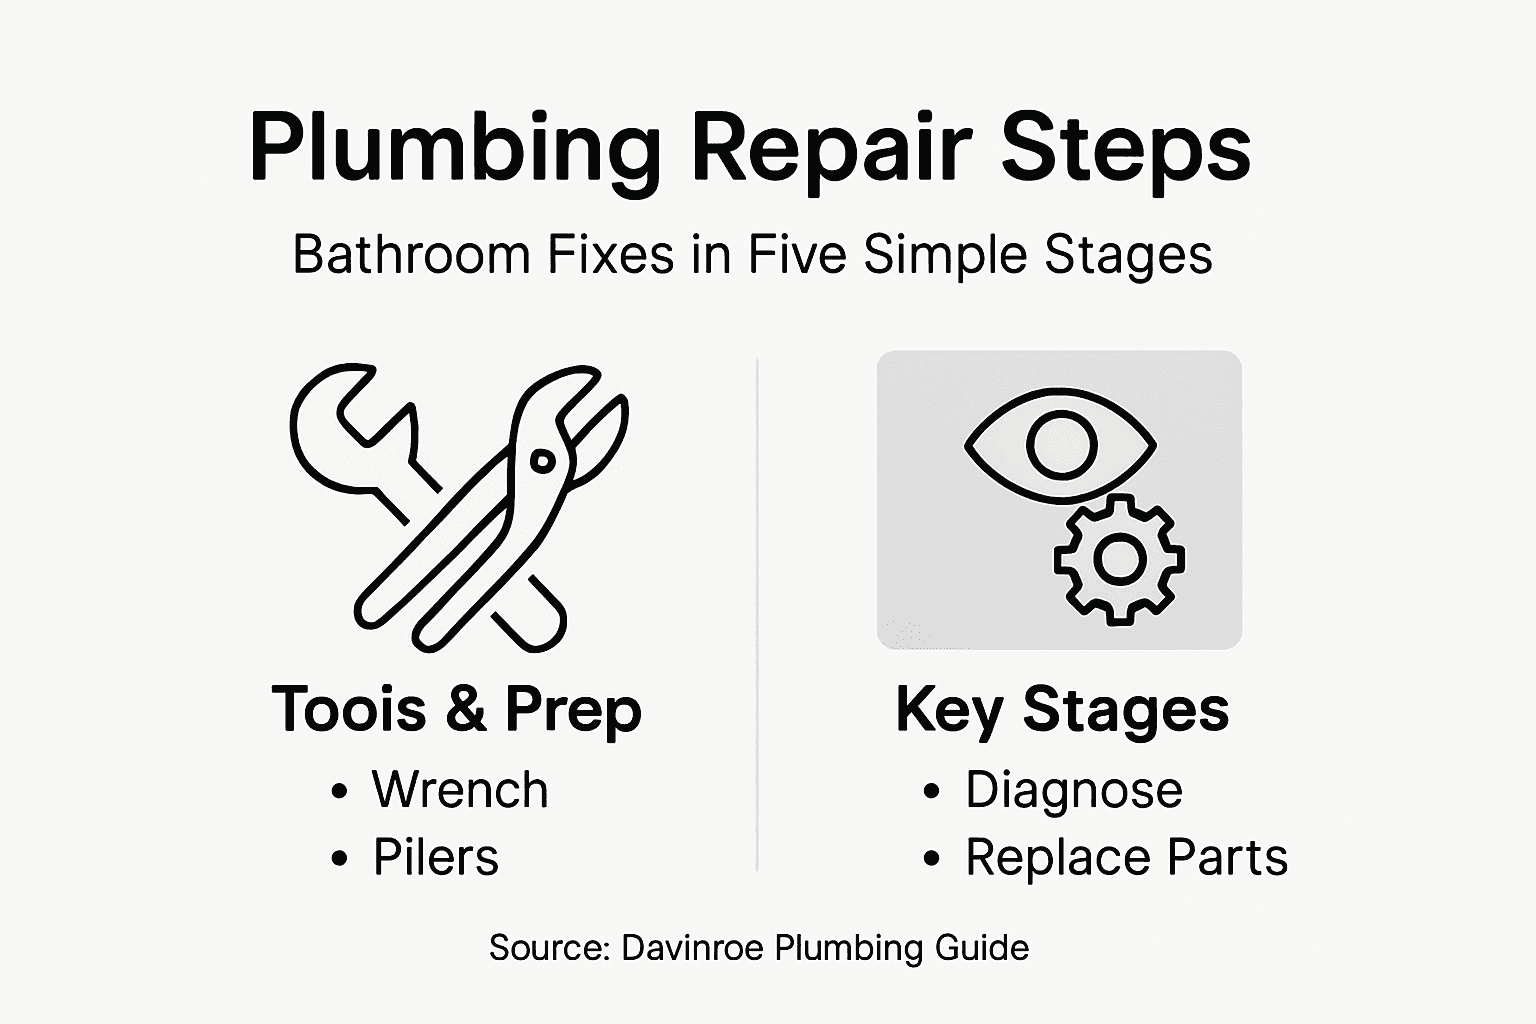
- Step 1: Gather Tools And Shut Off Water Supply
- Step 2: Diagnose The Bathroom Plumbing Issue
- Step 3: Disassemble And Inspect Faulty Components
- Step 4: Repair Or Replace Damaged Parts
- Step 5: Restore Water And Test Repairs
Quick Summary
| Key Point | Explanation |
|---|---|
| 1. Gather Essential Tools First | Assemble tools like wrenches, pliers, and gloves before starting repairs to ensure a smooth process. |
| 2. Diagnose Issues Systematically | Identify problems by checking for leaks, slow drainage, and unusual sounds before attempting repairs. |
| 3. Disassemble and Inspect Carefully | Methodically disassemble components, noting their arrangement, to detect signs of wear or damage. |
| 4. Evaluate Repair or Replacement Needs | Consider repair costs and the extent of damage to decide if replacement is necessary for parts. |
| 5. Test Repairs Thoroughly | Restore water flow slowly, checking for leaks and proper function to confirm successful repairs. |
Step 1: Gather Tools and Shut Off Water Supply
Preparing for bathroom plumbing repair requires strategic planning and the right equipment. Before diving into any repair work, you will need to assemble essential tools and safely halt the water supply to prevent potential flooding or water damage.
Start by collecting your repair toolkit. Essential items include an adjustable wrench, channel lock pliers, screwdrivers (both flathead and Phillips), putty knife, work gloves, and a bucket for catching water. Your toolkit should also include emergency water shut-off tools to quickly control water flow if unexpected issues arise. Locate your home’s main water shut-off valve typically found in the basement, garage, crawl space, or outside near the home’s foundation. Turn the valve handle clockwise to completely stop water flow before beginning any repairs.
Knowing how to swiftly access and operate your water shut-off valve is critical. If you cannot locate or safely turn the valve, contact a professional plumber who can assist you. Some homeowners might find the valve near the water meter or where the main water line enters the home. Always wear protective gloves and have your tools organized before starting any plumbing work to ensure a smooth and safe repair process.
Pro tip: Keep a flashlight near your main water shut-off valve to help you quickly identify and operate it during emergencies.
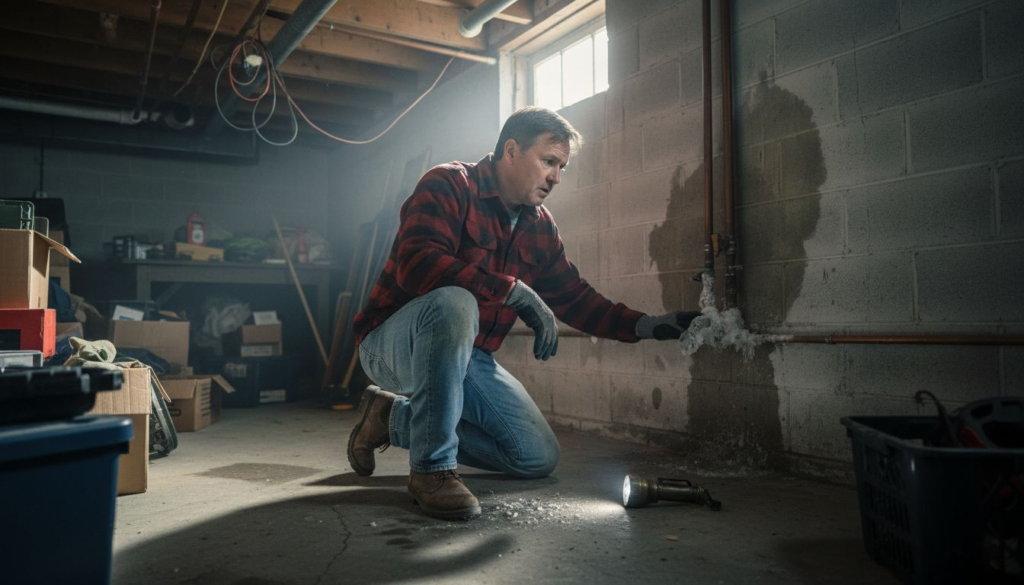
Step 2: Diagnose the Bathroom Plumbing Issue
Diagnosing bathroom plumbing problems requires a systematic approach to identify the specific issues affecting your fixtures and water systems. Your goal is to understand the root cause of the problem before attempting any repairs, which helps prevent unnecessary work and potential additional damage.
Begin by carefully examining your bathroom’s plumbing components for visible signs of trouble. Look for water leaks around pipes, fixtures, and joints. Check for slow drainage in sinks, toilets, and showers, which can indicate potential blockages or pipe obstructions. Listen for unusual sounds like gurgling or bubbling that might suggest underlying problems. Plumbing diagnostic techniques recommend inspecting water pressure and monitoring how different fixtures perform to pinpoint specific issues.
Pay attention to subtle indicators that might signal more significant problems. Water discoloration, unusual odors, or unexpected changes in water temperature can reveal underlying plumbing system challenges. Understanding these signs helps you determine whether you can handle the repair yourself or need professional intervention. Remember that early detection can prevent extensive water damage and costly repairs down the line.
Here’s a quick reference for common bathroom plumbing issues and their usual signs:
| Issue Type | Typical Sign | Possible Cause |
|---|---|---|
| Leak | Water puddles or stains | Loose fittings or worn seals |
| Slow drainage | Water drains slowly | Blocked pipes or debris |
| Odd sounds | Gurgling or bubbling noises | Air in pipes or partial blockages |
| Discolored water | Yellow or brown tint | Pipe corrosion or sediment |
| Fluctuating temperature | Sudden hot/cold changes | Faulty mixing valve or heater |
Pro tip: Take clear photos of the problem areas before starting any repairs to help document the issue and track your progress.
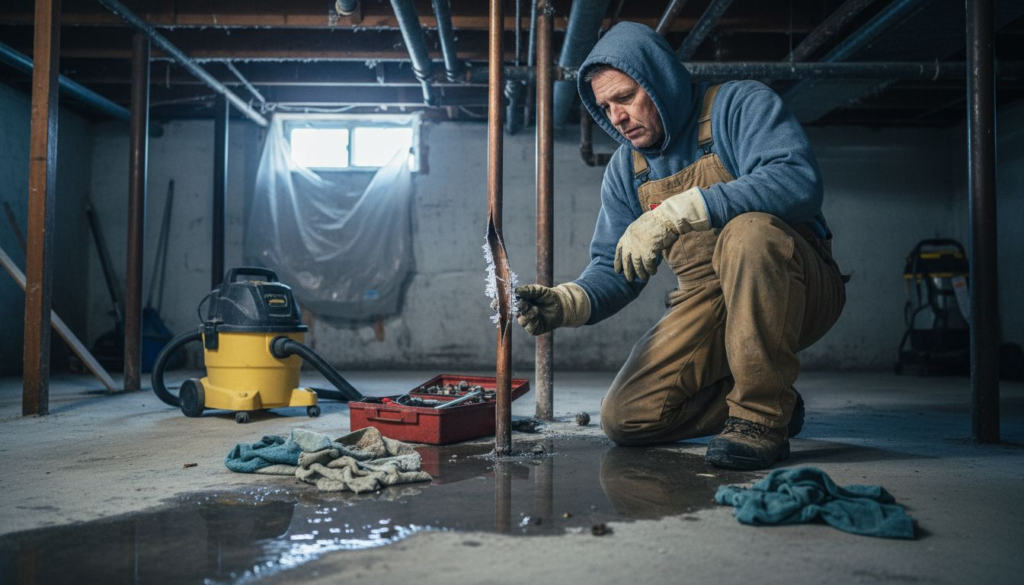
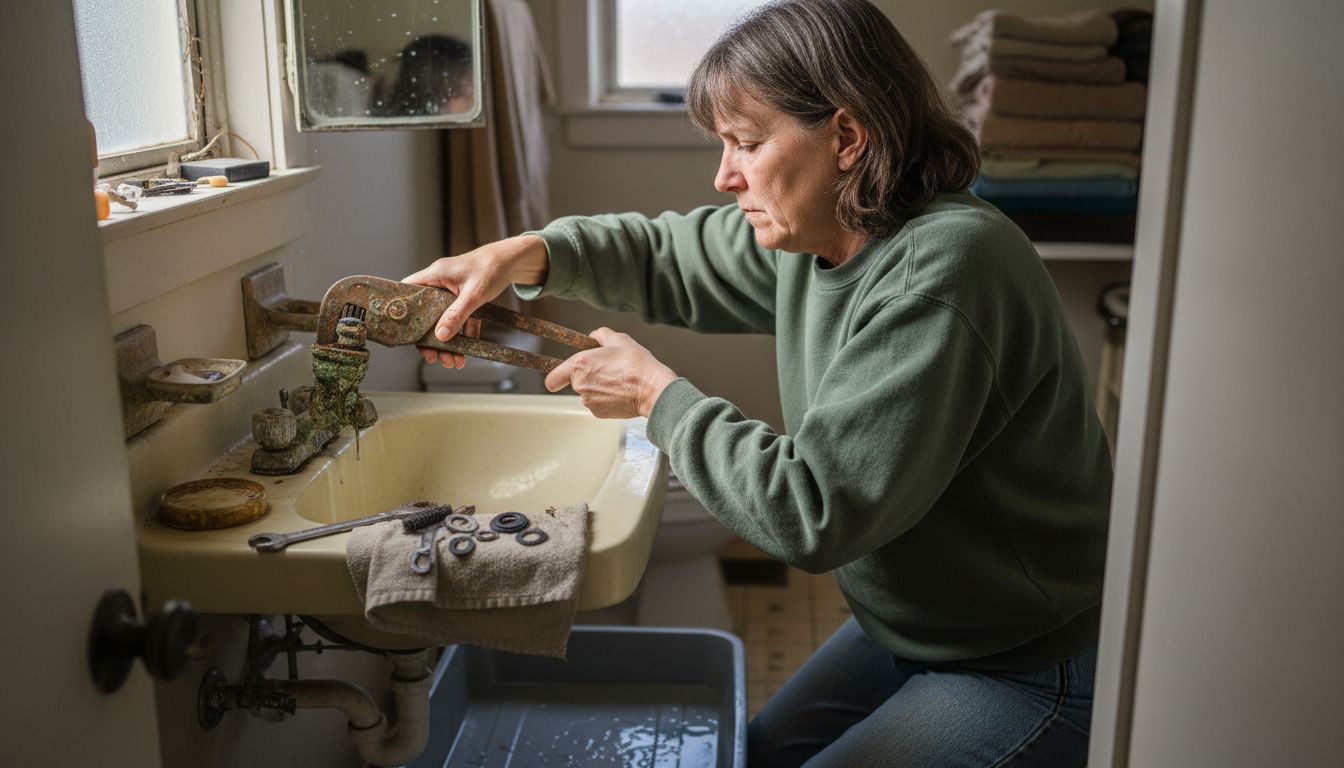
Step 3: Disassemble and Inspect Faulty Components
Carefully disassembling bathroom plumbing components requires precision and methodical approach to identify underlying issues without causing additional damage. Your objective is to examine each part thoroughly and understand the specific failures preventing proper system functionality.
Begin by gathering specialized tools like adjustable wrenches, basin wrenches, and pliers to safely remove components. Plumbing component inspection techniques recommend systematically loosening pipe fittings and removing valves or faucet parts. Look closely for signs of wear such as mineral build-up, hairline cracks, corroded seals, or damaged washers. Pay special attention to rubber seals and gaskets which frequently cause leaks when deteriorated. Carefully document each component’s position and orientation before disassembly to ensure proper reassembly later.
As you examine each part, compare its condition against manufacturer specifications and standard performance expectations. Some damage might be immediately visible while other issues require closer tactile or visual inspection. Check for uneven wear patterns, material fatigue, or evidence of previous improper repairs. Understanding these details will help you determine whether you can repair the component or need a full replacement.
Pro tip: Arrange disassembled parts on a clean towel in the order they were removed to help you remember their original configuration.
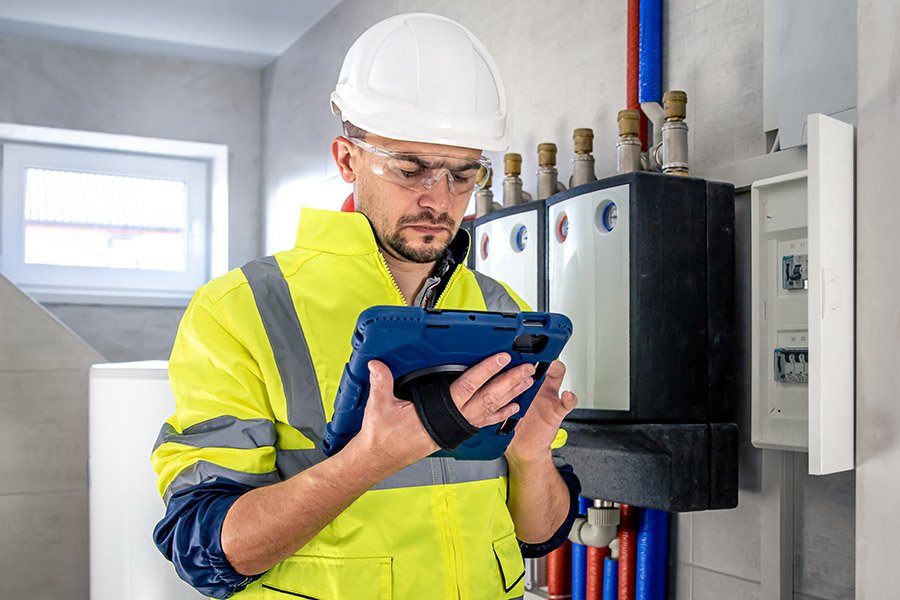
Step 4: Repair or Replace Damaged Parts
Deciding whether to repair or replace damaged plumbing components requires careful evaluation of multiple factors, including cost effectiveness, long-term reliability, and system performance. Your goal is to make an informed decision that ensures your bathroom plumbing functions efficiently and safely.
Repair versus replacement strategies typically suggest that if repair costs exceed 50-65% of replacement costs, you should opt for a full component replacement. Examine each damaged part critically. Minor issues like small cracks or worn seals might be repairable through techniques such as soldering, sealing, or applying specialized plumbing compounds. However, safety-critical components with extensive corrosion or structural damage should always be replaced to prevent future failures.
When selecting replacement parts, prioritize quality and compatibility with your existing plumbing system. Ensure the new components meet current plumbing code standards and are appropriate for your specific fixture type. Pay close attention to material specifications, connection types, and dimensions. If you are uncertain about the exact replacement part or the repair process, consulting a professional plumber can prevent potential costly mistakes and ensure proper installation.
Use this table to guide repair versus replacement decisions:
| Evaluation Factor | Repair Recommended | Replace Recommended |
|---|---|---|
| Damage extent | Minor cracks or wear | Structural faults, severe corrosion |
| Cost comparison | Less than 50% of replacement | Over 65% of replacement cost |
| Reliability | Fix restores part fully | Safety or performance at risk |
| Compatibility | Easy match with system | Outdated or incompatible part |
Pro tip: Always keep the packaging and specifications of replaced parts for future reference and potential warranty claims.
Step 5: Restore Water and Test Repairs
Restoring water flow and thoroughly testing your bathroom plumbing repairs is the critical final stage of your maintenance process. This step ensures that your hard work resolves the original issue and prevents potential future problems.
National plumbing testing standards recommend carefully reintroducing water to your system by slowly turning on the main water valve. Open the valve gradually to prevent sudden pressure surges that could compromise your recent repairs. Begin by checking all connections for immediate leaks. Run water through each fixture systematically starting with cold water lines and then hot water lines. Observe water pressure and flow rates carefully paying attention to any unusual sounds or irregular water streams that might indicate incomplete repairs.
Complete a comprehensive system check by flushing toilets multiple times, running sink faucets at different temperatures, and testing shower and bathtub fixtures. Listen for gurgling sounds in drains and watch for proper drainage. If you notice any persistent issues like slow drainage, inconsistent water pressure, or minor leaks, you may need to revisit your repair work or consider professional assistance. A successful repair means restoring full functionality without compromising your plumbing system’s overall performance.
Pro tip: Keep a towel and bucket nearby during initial water restoration to quickly address any unexpected leaks or water discharge.
Ready to Solve Your Bathroom Plumbing Challenges with Confidence
Bathroom plumbing repairs demand careful diagnosis, precise part inspection, and thoughtful decisions about repair or replacement to avoid costly mistakes and water damage. If you find yourself overwhelmed by slow drainage, leaks, or complex disassembly, Davinroy Plumbing is your trusted partner in Belleville, Illinois. We specialize in bathroom plumbing repair, hot water tank service, toilet repair, and frozen pipe repair, providing expert solutions when you need them most.
Don’t let plumbing troubles disrupt your daily routine or risk your home’s safety. Take action today by visiting Davinroy Plumbing to schedule a service or learn more about how we can restore your bathroom plumbing to perfect working order. For fast and reliable repair options that save time and prevent future headaches, trust the professionals who care about your home as much as you do.
Frequently Asked Questions
What tools do I need for bathroom plumbing repair?
To successfully repair bathroom plumbing, assemble an adjustable wrench, channel lock pliers, screwdrivers, and a putty knife. Ensure you also have work gloves and a bucket for catching water during the process.
How do I shut off the water supply for bathroom repairs?
Locate your home’s main water shut-off valve, usually found in the basement, garage, or outside. Turn the valve handle clockwise to stop water flow before starting any plumbing work.
How can I diagnose plumbing issues in my bathroom?
Start by visually inspecting pipes, fixtures, and joints for signs of leaks or blockages. Listen for unusual sounds and note any unusual odors or water discoloration that could indicate underlying problems.
When should I decide to repair versus replace damaged plumbing parts?
Choose to repair minor issues if repair costs are less than 50% of replacement costs. If there is extensive corrosion or significant structural damage, replace the component to prevent future issues.
How can I test my repairs after restoring water to the system?
After turning on the main water valve, check all connections for leaks and run each fixture to observe water pressure and drainage. Flush toilets and run faucets multiple times to ensure everything functions properly without any irregularities.
What should I do if I notice persistent plumbing issues after repairs?
If problems continue after your repairs, revisit your work to identify any missed issues. Consider contacting a professional plumber if you cannot resolve the situation to avoid further damage.
Recommended
- What Is Plumbing and Why It Matters Locally
- When Your Garbage Disposal Needs a Lifeline: Emergency Repair Solutions – Davinroy Plumbing and Mechanical
- Toilet Troubles? Home Depot’s Unclogging Tips to the Rescue! – Davinroy Plumbing and Mechanical
- Remodeling Services – Davinroy Plumbing and Mechanical