A surprising number of American households face toilet issues each year, with over 60 percent of repairs manageable by homeowners using basic tools. In Belleville, Illinois, tackling plumbing problems yourself can save significant money and help prevent costly emergencies. This guide offers straightforward steps for identifying toilet troubles, assembling repair gear, and restoring function so you can handle common fixes confidently and keep your bathroom running smoothly.
Table of Contents
- Step 1: Gather Essential Toilet Repair Tools And Parts
- Step 2: Shut Off Water Supply And Empty The Tank
- Step 3: Identify And Diagnose Toilet Problems
- Step 4: Repair Or Replace Faulty Components
- Step 5: Restore Water Supply And Test Repairs
Quick Summary
| Key Point | Explanation |
|---|---|
| 1. Assemble essential repair tools first | Gather tools like wrenches, screwdrivers, and replacement parts to prepare for the repair process. |
| 2. Shut off water supply before repairs | Always turn off the water flow at the shut-off valve to avoid spills during the toilet repair. |
| 3. Diagnose toilet issues thoroughly | Inspect the toilet for cracks, leaks, and other symptoms to identify the exact problems needing repair. |
| 4. Replace or repair damaged components | Systematically remove and replace faulty parts to restore the toilet’s function effectively. |
| 5. Test repairs and monitor for leaks | Restore water supply gradually and flush several times to ensure all repairs were successful and leak-free. |
Step 1: Gather essential toilet repair tools and parts
Taking on a toilet repair project starts with assembling the right tools and equipment. You will need several key items to diagnose and resolve most common toilet problems efficiently. Essential toilet repair hardware typically includes an adjustable wrench, flathead screwdriver, replacement bolts and nuts, rubber or plastic washers, penetrating oil for rusted connections, and basic cleaning supplies.
Your primary toolkit should contain a reliable adjustable wrench for tightening connections, pliers for gripping and manipulating parts, a screwdriver set with both flathead and Phillips head options, and protective work gloves. Additional recommended items include a bucket for catching water, rags or towels for cleanup, plumber’s tape for sealing connections, and a toilet plunger for minor clogs. Having these tools prepared before starting your repair will save time and prevent frustration during the process.
Pro tip: Store all your toilet repair tools together in a dedicated waterproof container to keep them organized and readily accessible for future maintenance needs.
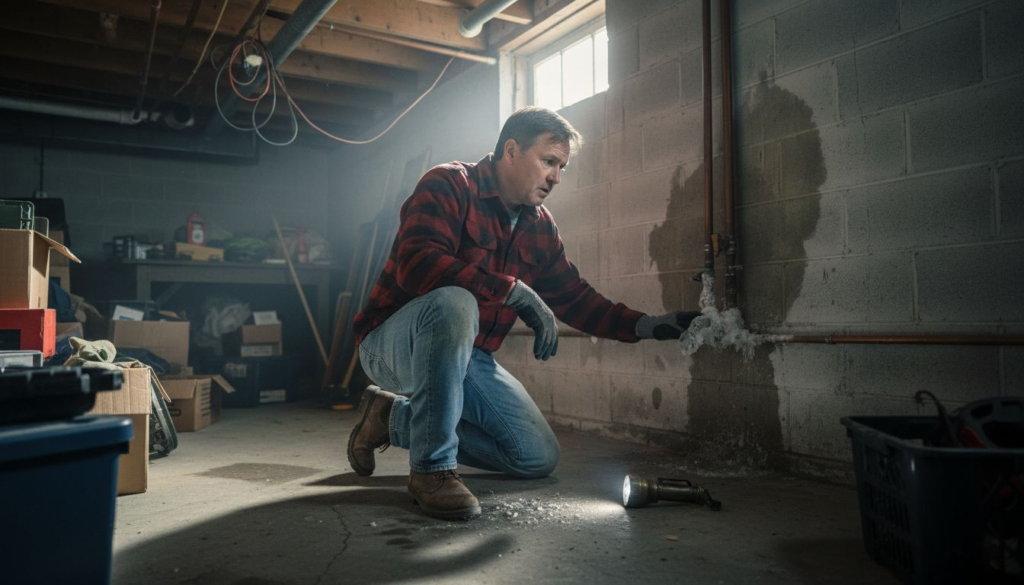
Step 2: Shut off water supply and empty the tank
Before beginning any toilet repair, you must safely stop water flow and drain the tank to prevent potential flooding or water damage. Locating your water shut-off valve is the crucial first step. This valve is typically situated in areas like the basement, garage, or near the main water entry point to your home.
To shut off the water, locate the valve and turn the handle clockwise until it feels snug and tight. Most residential homes have either a gate valve with a wheel handle or a ball valve with a lever handle. After turning off the water, flush the toilet to drain remaining water from the tank and reduce internal pressure. This step prevents unexpected water spillage and creates a dry working environment for your repair project. Make sure to position a bucket or towels nearby to catch any residual water that might drip during the process.
Compare the two main types of water shut-off valves found in homes:
| Valve Type | Handle Shape | How to Turn Off | Common Location |
|---|---|---|---|
| Gate Valve | Wheel | Turn clockwise | Basement or main line |
| Ball Valve | Lever | Turn perpendicular | Near wall or floor |
Pro tip: Test the water shut-off valve periodically to ensure it operates smoothly and prevent potential seizure during emergency situations.
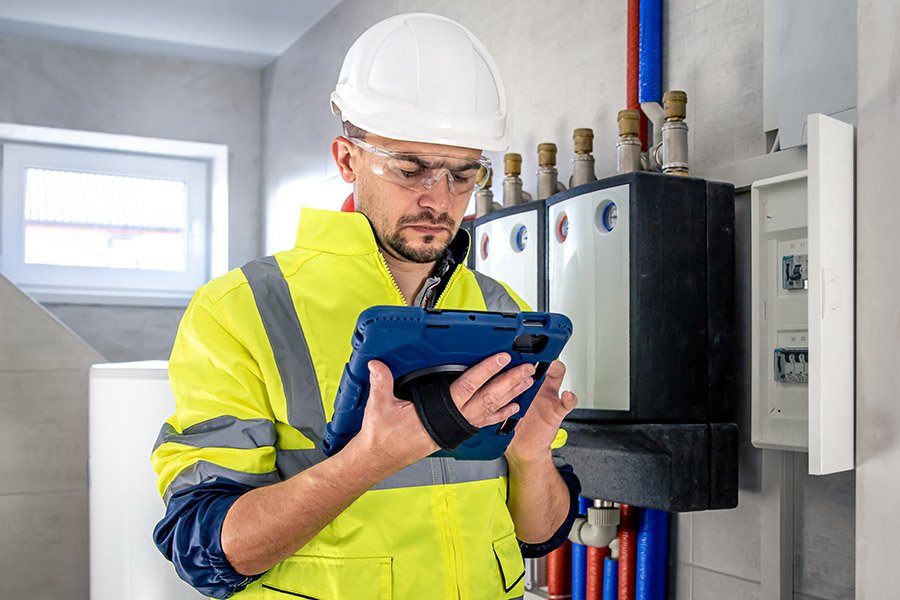
Step 3: Identify and diagnose toilet problems
Successful toilet repair begins with carefully identifying the specific issues affecting your fixture. Toilet-related problems range from minor mechanical failures to more complex structural concerns that can impact both functionality and safety. Start by performing a comprehensive visual and functional inspection, looking for signs of damage such as cracks, leaks, unstable mounting, or irregular flushing behavior.
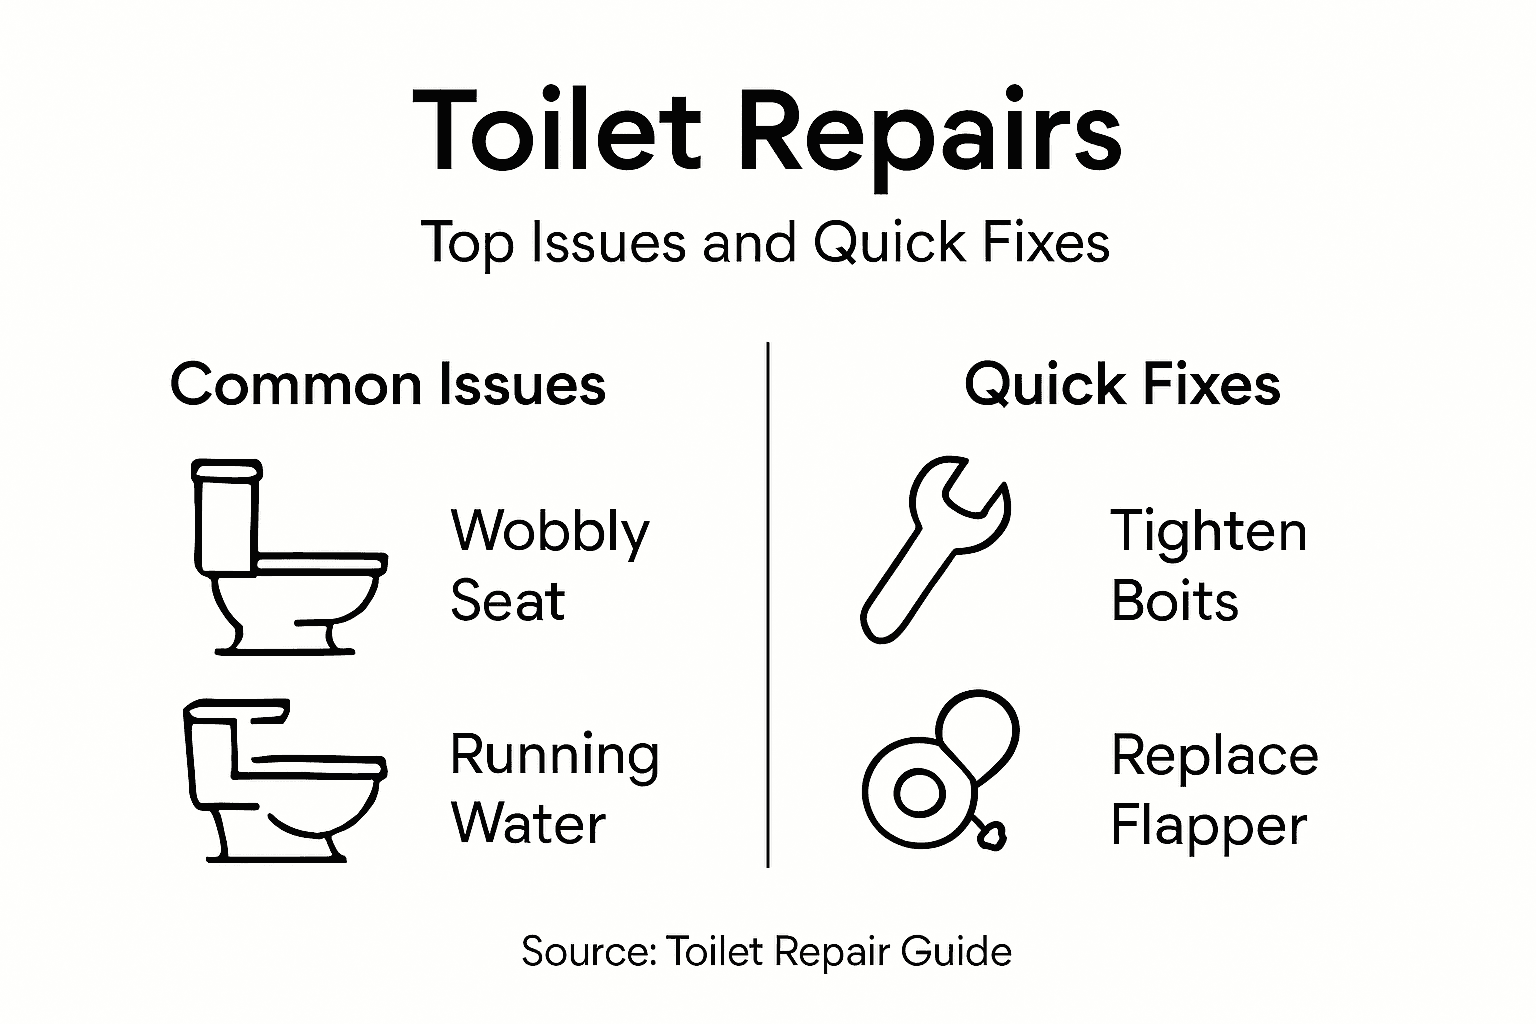
Common diagnostic areas include checking the toilet seat for looseness, examining the flush mechanism for smooth operation, and inspecting connections between tank and bowl for potential water leakage. Pay attention to unusual sounds during flushing, water flow inconsistencies, and any visible wear or damage to components. Unusual wobbling, persistent running water, or slow drainage can indicate underlying mechanical problems that require immediate attention. Listen for hissing sounds near the tank, check for water pooling around the base, and observe the water level and flushing power to comprehensively assess your toilet’s condition.
Here’s a quick reference for common toilet problems and what they often indicate:
| Symptom | Likely Cause | Recommended Action |
|---|---|---|
| Wobbling toilet | Loose mounting bolts | Tighten or replace bolts |
| Constant running water | Faulty flush mechanism | Adjust or replace mechanism |
| Water at base | Seal or connection leak | Replace seal, check connections |
| Slow drainage | Partial clog | Use plunger or auger |
| Weak flush | Low tank water or clog | Adjust water level or clear clog |
Pro tip: Keep a flashlight and small mirror nearby during inspection to help you examine hard-to-see areas and identify potential issues more effectively.
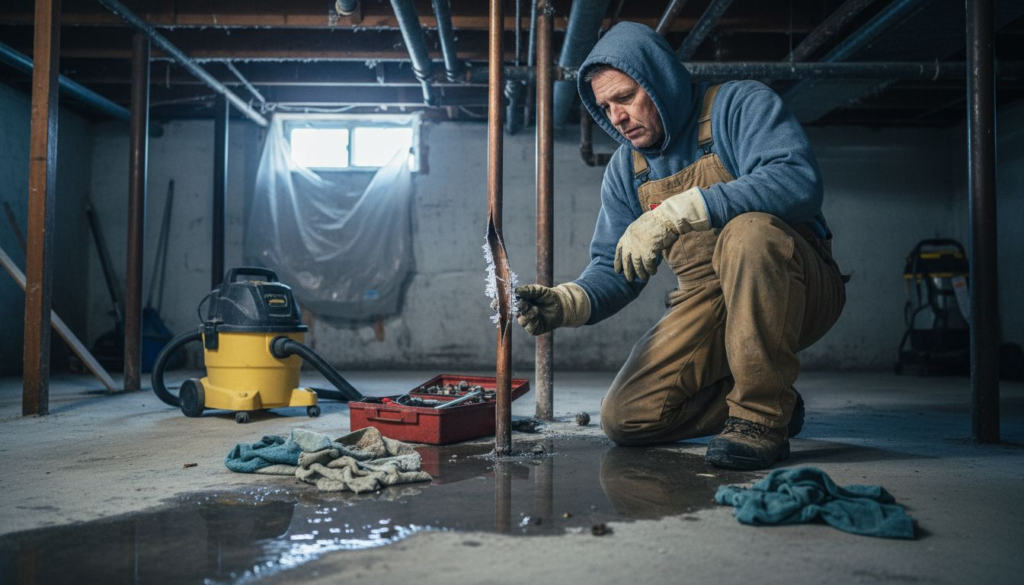
Step 4: Repair or replace faulty components
Once you have diagnosed your toilet’s specific issues, you will need to systematically replace or repair the problematic parts. Leaking toilet waste pipe repair requires careful attention to detail and a methodical approach to ensure a successful fix. Start by carefully removing the damaged component and comparing it with a new replacement part to ensure exact compatibility.
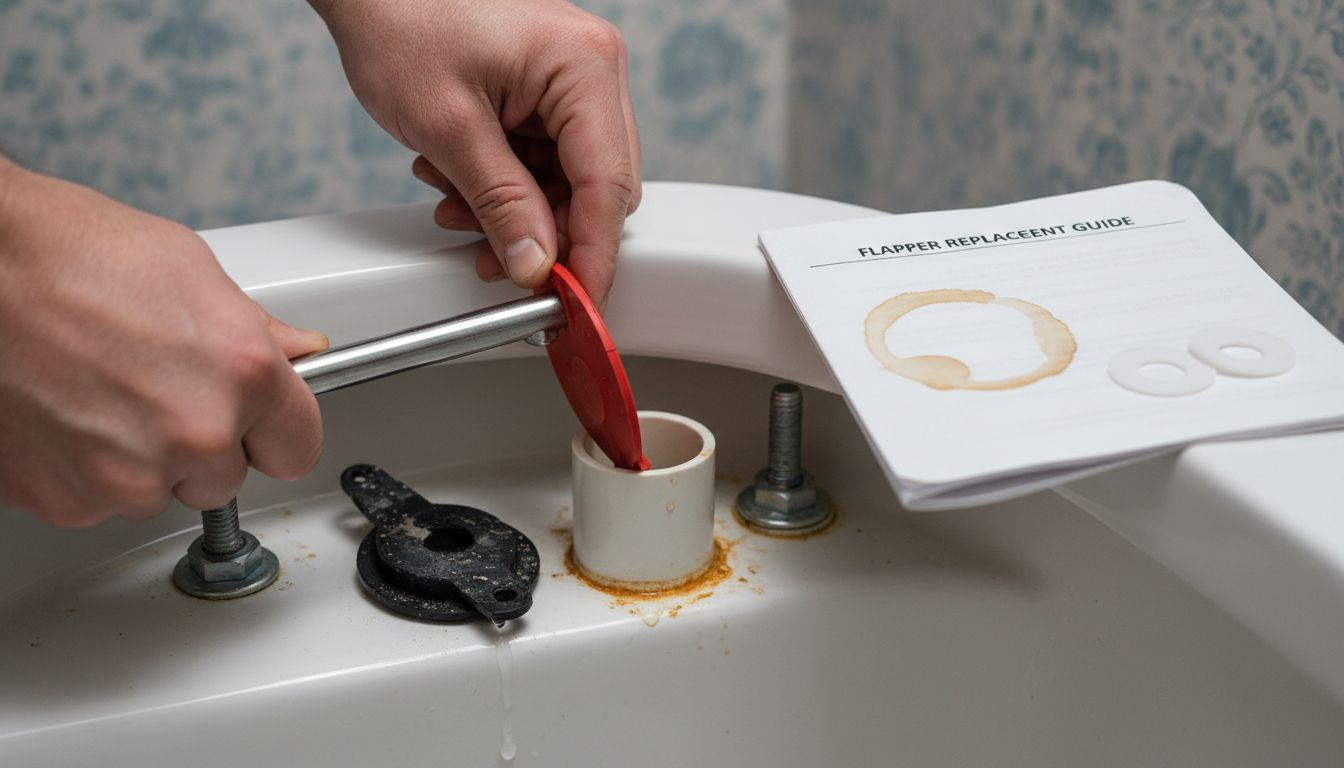
Focus on critical areas such as the flush mechanism, toilet seat hardware, and sealing components. Replacing worn washers, tightening loose bolts, and installing new rubber seals can often resolve many common toilet problems. Pay close attention to how components fit together, making sure to clean mounting surfaces thoroughly before installing new parts. For more complex repairs involving the waste pipe or internal mechanisms, take your time and work carefully to avoid creating additional damage. Always ensure you have the correct replacement parts and tools before beginning the repair process.
Pro tip: Take a clear photo of the components before disassembly to help you remember their exact positioning during reassembly.
Step 5: Restore water supply and test repairs
After completing your toilet repairs, the final crucial step is carefully restoring water supply and thoroughly testing your work. Emergency water supply restoration involves slowly turning the shut-off valve counterclockwise to gradually reintroduce water into your plumbing system. This gradual approach helps prevent potential pressure surges that could compromise your recent repairs.
Once water begins flowing, closely monitor the toilet tank and surrounding areas for any signs of leakage or irregular water behavior. Flush the toilet multiple times to ensure the flush mechanism works smoothly and that water fills the tank correctly. Check connections, seals, and mounting points for any unexpected water seepage or movement. Pay special attention to the base of the toilet and the connection points between tank and bowl. If you notice any drips, unusual sounds, or incomplete flushing, you may need to adjust or recheck your repair work. Patience and careful observation are key to confirming that your toilet repair has been successful.
Pro tip: Keep several towels nearby during the initial water restoration to quickly address any unexpected leaks or water spillage.
Get Expert Help for Your Toilet Repairs Today
Facing loose mounting bolts or a persistent running toilet can be frustrating and overwhelming. This guide highlights the key challenges of diagnosing issues like faulty flush mechanisms and leaking seals that disrupt your daily comfort. If tightening bolts, replacing washers, or sealing connections feels too complex or time-consuming, professional support is within reach.

At Davinroy Plumbing, we understand how critical a fully functioning toilet is to your home. Our skilled team offers reliable toilet repair services in the Belleville, Illinois area to fix everything from constant running water to weak flushing systems. Don’t let small problems turn into expensive damage. Visit our site at Davinroy Plumbing to schedule your service today and experience peace of mind knowing your plumbing is in trusted hands.
Frequently Asked Questions
What tools do I need for toilet repair?
To repair a toilet, you will need an adjustable wrench, various screwdrivers, replacement bolts and nuts, rubber or plastic washers, penetrating oil, and cleaning supplies. Gather these tools to effectively troubleshoot and resolve most common toilet issues.
How do I shut off the water supply to my toilet?
To shut off the water supply, locate the shut-off valve, typically found near the base of your toilet or in the basement. Turn the handle clockwise until it is tightly closed to ensure no water enters the toilet during repairs.
What are the common indicators of toilet problems?
Common indicators of toilet problems include a wobbly toilet, constant running water, water pooling at the base, slow drainage, and weak flushes. Perform a thorough inspection to identify any of these issues as they often point to specific mechanical failures.
How do I diagnose a faulty toilet component?
Start by visually inspecting the toilet and testing its function to identify issues like leaks or unusual noises. Check connections between the tank and bowl, the flush mechanism, and the toilet seat for any signs of wear or malfunction.
What should I do after completing the toilet repair?
After finishing your repair, restore the water supply by slowly turning the shut-off valve counterclockwise. Monitor the toilet closely for leaks and test its flushing mechanism multiple times to ensure it operates correctly before concluding the project.
How can I prevent future toilet issues?
To prevent future toilet issues, regularly check the condition of components and replace worn washers or seals as needed. Set a reminder to inspect and test your shut-off valve and any connections every six months to catch potential problems early.
Recommended
- Toilet Troubles? Home Depot’s Unclogging Tips to the Rescue! – Davinroy Plumbing and Mechanical
- When Your Garbage Disposal Needs a Lifeline: Emergency Repair Solutions – Davinroy Plumbing and Mechanical
- Toilet Services – Davinroy Plumbing and Mechanical
- What Is Plumbing and Why It Matters Locally
- Top Interior Painting Mistakes