Leaking pipes or sudden water pooling can turn a calm day in Belleville, Illinois, into a stressful emergency. When your home faces urgent plumbing problems, acting fast is the key to protecting your property. This step-by-step guide walks you through rapid assessment and emergency action so you can stop damage in its tracks, restore safety, and know exactly when to call for professional help while staying calm in the chaos.
Table of Contents
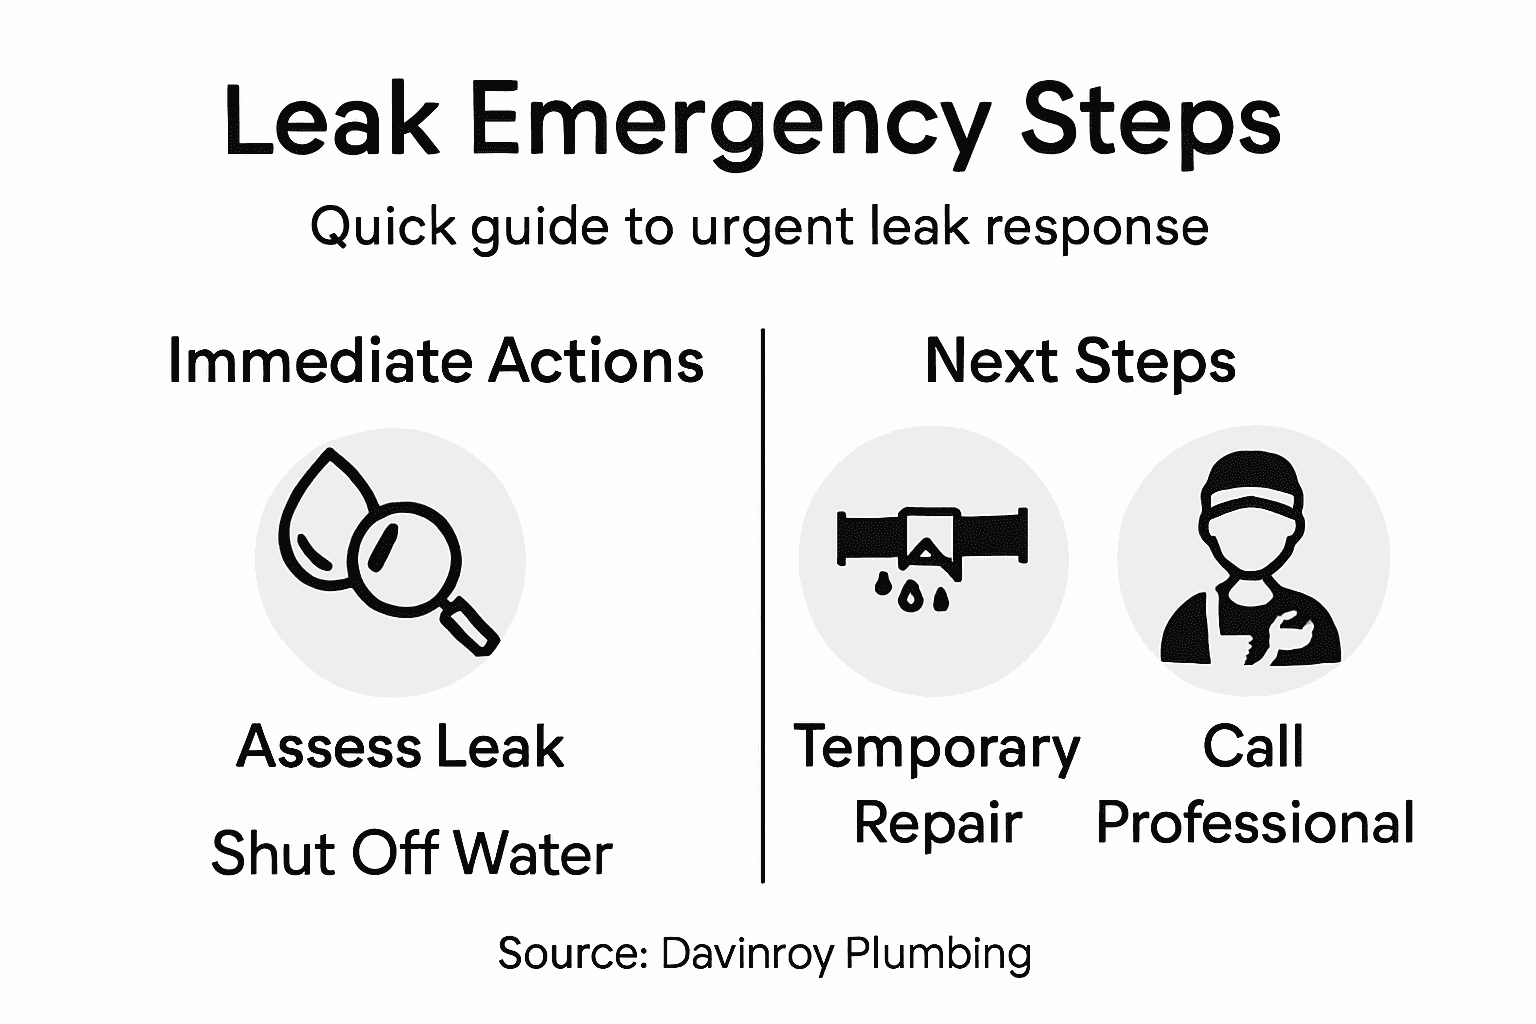
- Step 1: Assess The Plumbing Emergency Quickly
- Step 2: Shut Off Water Supply Safely
- Step 3: Locate And Isolate The Source Of The Issue
- Step 4: Apply Immediate Temporary Repairs
- Step 5: Contact Professional Plumbing Assistance
- Step 6: Verify Repairs And Restore Water Flow
Quick Summary
| Key Message | Explanation |
|---|---|
| 1. Assess Emergency Quickly | Swiftly identify the water source, flow intensity, and to potential damage areas to address issues effectively. |
| 2. Shut Off Water Supply | Locate and turn off the main water valve promptly to minimize damage and prevent further flooding. |
| 3. Temporary Repairs Matter | Utilize pipe repair tape or clamps for immediate fixes, saving costs until professional help arrives. |
| 4. Call Professionals When Needed | Contact a plumber for persistent leaks or structural damage, ensuring timely intervention to avoid bigger problems. |
| 5. Verify Repairs Thoroughly | Check all repair sites for leaks and moisture, ensuring that plumbing is secure and functional after repairs. |
Step 1: Assess the Plumbing Emergency Quickly
When water starts pooling or leaking unexpectedly, your first priority is a swift and strategic assessment of the plumbing situation. Understanding how to quickly diagnose the problem can mean the difference between minor repairs and catastrophic water damage.
Start by identifying the specific type and location of the emergency. Check for visible signs like water accumulation, dripping pipes, unusual moisture patterns, or water stains on walls and ceilings. Your assessment should focus on three critical elements:
- Water Source: Determine where the water is coming from
- Flow Intensity: Evaluate how rapidly water is escaping
- Potential Damage Areas: Identify which surfaces or structures are at risk
To assess the emergency effectively, understand emergency preparedness protocols that can help you rapidly contain potential risks. Pay special attention to electrical outlets near water sources and shut off nearby power if there’s any risk of electrical hazards.
Quickly locate your main water shut-off valve – typically found near the water meter or where the main water line enters your home. Having this location memorized beforehand can save critical minutes during an emergency.
Pro tip:Keep a flashlight and wrench near your main water shut-off valve for quick emergency access during unexpected plumbing incidents.
Step 2: Shut Off Water Supply Safely
When facing a plumbing emergency, shutting off your home’s water supply quickly and correctly can prevent extensive water damage and costly repairs. Understanding the precise location and method of stopping water flow is crucial for minimizing potential destruction.
To safely shut off your water supply, you’ll need to locate your main water valve. This valve is typically found in several possible locations:
- Near the perimeter of your home’s foundation
- In the basement or crawl space
- Close to the water meter
- Near the street-side property line
Identify your emergency water shut-off valve by checking these common areas. The valve will usually have a wheel or lever mechanism. For wheel-style valves, turn the handle clockwise to stop water flow. With lever-style valves, rotate the handle 90 degrees to the closed position.
If you cannot locate your home’s main valve or feel uncomfortable turning it, contact your local water provider. They can assist you in shutting off water at the street level, which provides a complete water supply interruption.
Remember: Every second counts during a water emergency. Knowing your shut-off valve location beforehand can save thousands in potential water damage.
Pro tip:Create a clear, visible label near your main water valve and ensure all household members know its exact location for quick access during emergencies.
Step 3: Locate and Isolate the Source of the Issue
Identifying the precise source of a plumbing leak is crucial for effective repair and minimizing potential water damage. Your investigative approach will determine how quickly and efficiently you can resolve the problem.
To accurately detect water leak locations, start by performing a systematic inspection of your plumbing system. Look for these key indicators of potential water issues:
- Unexplained damp spots on floors or walls
- Water stains or discoloration
- Unusual sounds like dripping or running water
- Musty odors near pipes or walls
- Visible mold or mildew growth
- Soft or warped flooring materials
Carefully examine visible supply lines, joints, and connections for signs of moisture. Check under sinks, around toilets, near water heaters, and in basement areas. For underground leaks, watch for unusual wet patches in your yard or unexpected increases in water bills.
Critical Warning: Small leaks can quickly escalate into major structural damage if not addressed immediately.
If you cannot visually pinpoint the leak, consider using your water meter as a diagnostic tool. Turn off all water sources and check if the meter continues to register water flow, which could indicate a hidden leak.
Pro tip:Invest in a moisture detection device to help identify hidden leaks behind walls or under flooring before they cause extensive damage.
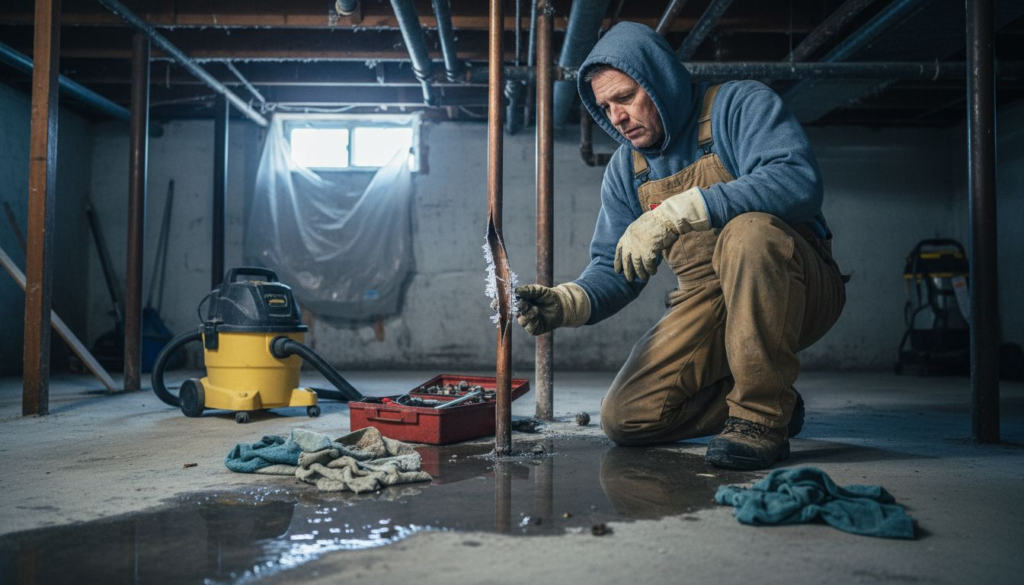
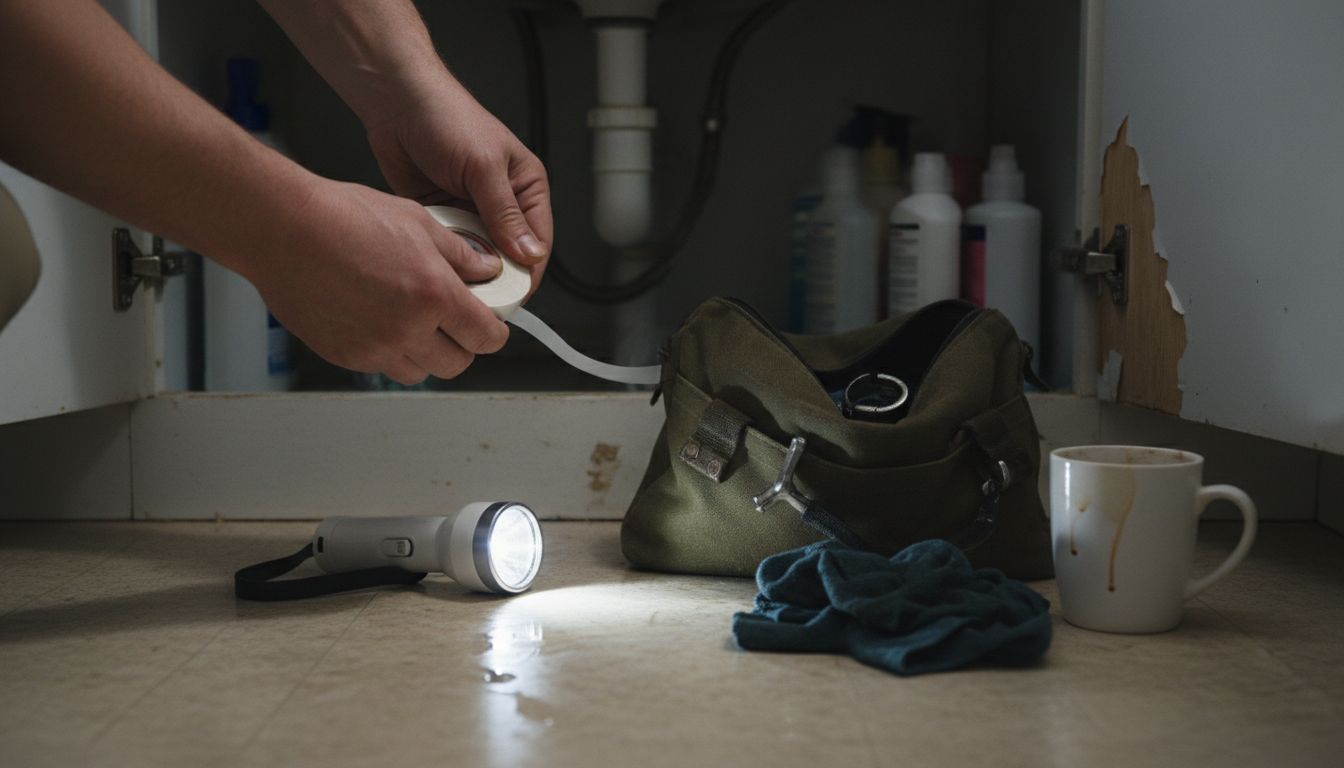
Step 4: Apply Immediate Temporary Repairs
When confronting a plumbing leak, your primary goal is to minimize water damage and prevent further destruction until professional help arrives. Quick thinking and strategic temporary repairs can save you thousands in potential property damage.
Practical temporary repair techniques can help you manage unexpected plumbing emergencies effectively. Here are the most reliable methods for immediate intervention:
- Pipe Repair Tape: Wrap around small leaks or pipe cracks
- Pipe Clamps: Secure larger ruptures or significant pipe damage
- Waterproof Epoxy Putty: Seal pinhole leaks or minor pipe fractures
- Rubber Patches: Cover small holes or temporary leak sealing
Start by cleaning and drying the damaged area thoroughly. For small leaks, silicone tape or repair tape can provide a quick seal. When dealing with more substantial damage, use pipe clamps that can withstand water pressure and prevent further leaking.
Here’s a quick comparison of common temporary plumbing repair methods and their best use cases:
| Repair Method | Best Use Case | Estimated Effectiveness |
|---|---|---|
| Pipe Repair Tape | Small leaks and cracks | High for minor issues |
| Pipe Clamps | Larger ruptures | Moderate for short-term |
| Waterproof Epoxy Putty | Pinhole leaks and fractures | Effective for quick sealing |
| Rubber Patches | Small holes | Useful for surface leaks |
Critical Action: Always prioritize safety. If the leak involves electrical equipment or appears extensive, wait for professional assistance.
Be prepared with a basic emergency repair kit containing essential supplies like repair tape, pipe clamps, and waterproof epoxy. These tools can help you manage unexpected plumbing issues before they escalate into major problems.
Pro tip:Keep a waterproof emergency repair kit in an easily accessible location and ensure all household members know its exact location.
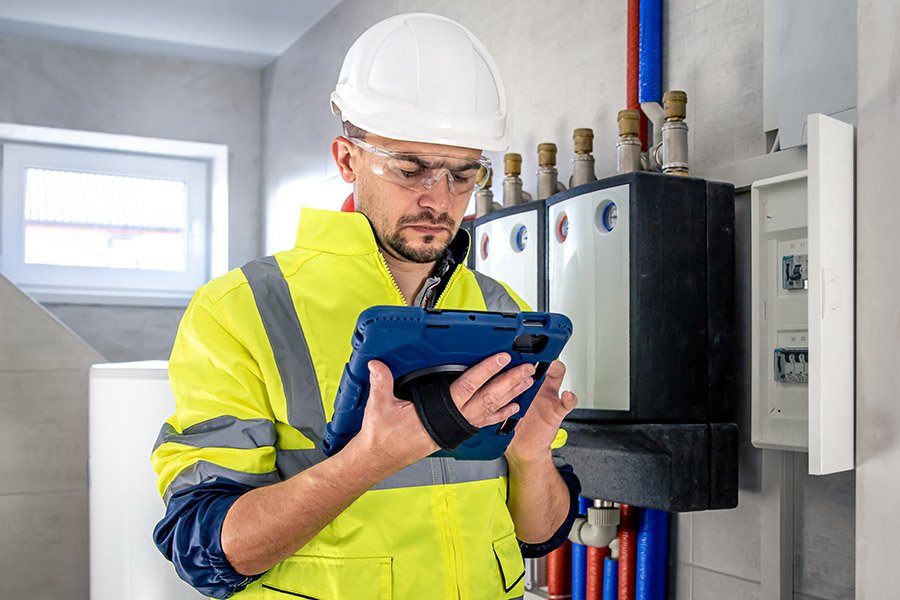
Step 5: Contact Professional Plumbing Assistance
After implementing temporary repairs, recognizing when professional intervention is necessary becomes crucial for preventing long-term damage and ensuring your home’s plumbing integrity. Understanding the right moment to call an expert can save you significant time and money.
Professional plumber guidance helps homeowners identify critical scenarios requiring specialized assistance. Consider contacting a professional plumber when you encounter these warning signs:
- Persistent leaks that temporary repairs cannot stop
- Signs of structural water damage
- Complex pipe or system issues
- Potential underground or wall-embedded leaks
- Any situation involving potential sewage backup
- Instances where electrical systems might be compromised
When calling a plumber, be prepared to provide detailed information about the issue. Describe the leak’s location, temporary repairs already attempted, and any observations that might help diagnose the problem quickly.
Use this summary as a reference for recognizing when professional plumbing assistance is essential:
| Warning Sign | Urgency Level | Potential Consequence |
|---|---|---|
| Persistent or recurring leaks | Immediate | Ongoing water damage |
| Structural water damage detected | High | Costly repairs and renovations |
| Underground or wall leaks suspected | High | Mold growth, hidden damage |
| Electrical systems compromised | Critical | Health and safety risks |
| Sewage backup present | Emergency | Sanitation and property hazards |
Critical Insight: Timely professional intervention can prevent minor leaks from becoming catastrophic home repairs.
Ensure you select a licensed plumber with experience in emergency repairs. Check their credentials, read customer reviews, and verify their availability for urgent situations.
Pro tip:Save your preferred emergency plumber’s contact information in multiple accessible locations, including your phone, refrigerator, and family communication channels.
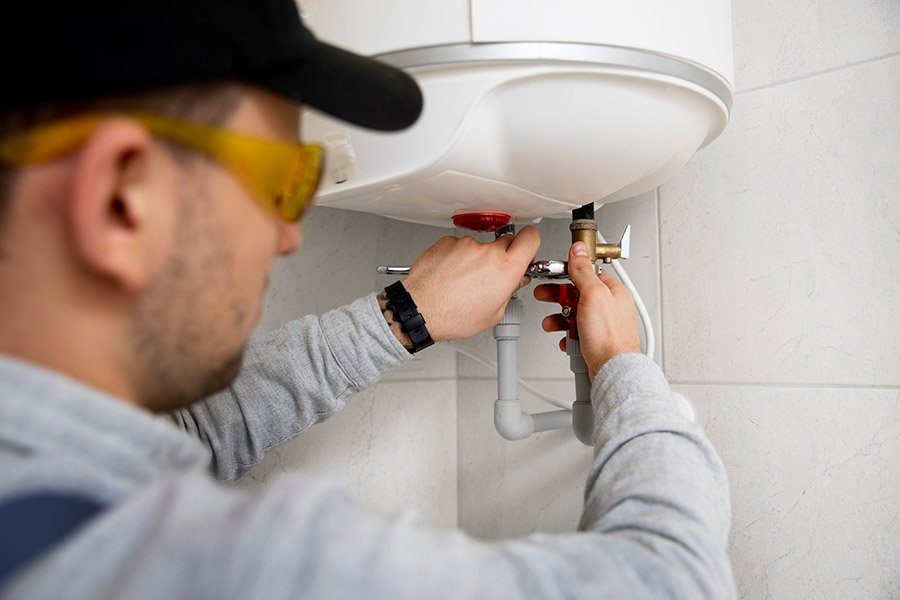
Step 6: Verify Repairs and Restore Water Flow
After addressing plumbing emergencies, thorough verification is critical to ensure your repairs have successfully resolved the issue and prevented potential future problems. Careful inspection and systematic testing can save you from recurring damage and unexpected complications.
Comprehensive plumbing verification procedures help homeowners confirm system integrity and functionality. Follow these essential steps to validate your repairs:
- Check all temporary and permanent repair sites
- Test water pressure at multiple fixtures
- Look for signs of additional moisture or leaking
- Inspect surrounding walls and flooring for water damage
- Confirm no active drips or seepage remain
Begin by slowly reintroducing water to your system. Turn on the main valve incrementally, watching carefully for any signs of continued leakage. Pay close attention to repaired sections, checking for unexpected pressure changes or unexpected water movement.
Critical Verification: A successful repair means zero additional water escape or pressure inconsistencies.
Document your repair process, including photographs and notes about the specific techniques used. This information can be valuable for future reference or if professional follow-up is required.
Pro tip:Run a complete system check 24-48 hours after repairs to ensure long-term stability and catch any delayed manifestations of potential issues.
Act Fast to Stop Plumbing Emergencies with Expert Help
Facing a sudden plumbing leak can feel overwhelming as water damage threatens your home’s safety and comfort. The article highlights essential steps like assessing the leak source, shutting off water supply, and applying temporary repairs. Yet, the true challenge is knowing when to trust seasoned professionals to prevent extensive damage and costly repairs.
Davinroy Plumbing understands these urgent pain points. We offer reliable emergency plumbing services in Belleville, Illinois, including leak detection, pipe repairs, and hot water tank service. Our licensed experts respond quickly to stop persistent leaks and restore your plumbing system’s integrity before the problem worsens.
Don’t wait until temporary fixes fail. Take control now by contacting Davinroy Plumbing for professional leak solutions. Learn more about our frozen pipe repair services and toilet repair options to ensure your home stays dry and secure. Visit our website for fast, trustworthy help you can count on in any emergency.
Frequently Asked Questions
How do I quickly assess a plumbing emergency?
To quickly assess a plumbing emergency, identify the source of the water, evaluate the intensity of the flow, and locate areas at risk of damage. Inspect visible signs like water accumulation and moisture patterns immediately to make informed decisions.
What steps should I take to shut off my water supply?
Shut off your water supply by locating your main water valve, typically found near the water meter or close to the foundation of your home. Turn the valve clockwise for wheel-style mechanisms or rotate it 90 degrees for lever-style valves to stop the water flow.
How can I find the source of a plumbing leak?
To find the source of a plumbing leak, look for damp spots, discoloration, or unusual sounds like dripping water. Inspect key areas such as under sinks and around appliances, and consider using your water meter to check for unseen leaks.
What are some temporary repairs I can apply to a plumbing leak?
You can apply temporary repairs by using pipe repair tape for small leaks, pipe clamps for larger ruptures, or waterproof epoxy putty for pinhole leaks. Act quickly to minimize damage, ensuring to clean the area thoroughly before applying any repair method.
When should I contact a professional plumber for assistance?
Contact a professional plumber when temporary repairs do not fix the problem, when you see signs of structural water damage, or if you suspect hidden leaks. Provide detailed information about the issue to help them assist you effectively.
How can I verify that my plumbing repairs were successful?
Verify plumbing repairs by inspecting all repair sites for leaks after slowly restoring water flow. Monitor for signs of moisture and confirm no additional water escape is present within 24–48 hours of completing your repairs.
Recommended
- Emergency Plumbing Workflow To Stop Damage Fast
- Bathroom Plumbing Repair Process: A Step-by-Step Guide
- 7 Essential Steps for Your Plumbing Maintenance Checklist
- 7 Practical Examples of Plumbing Repairs for Homeowners
- When Do Plumbers Use Drain Cameras? A Quick Look – Pro Clean
- 7 Essential Types of Drain Repairs Every Homeowner Should Know