Water flowing into your Belleville home from a burst or frozen pipe can leave you stressed and scrambling for solutions. Quick action matters when leaks threaten floors and belongings, especially during cold Midwest winters. Knowing how to identify pipe damage and locate your home’s main shut-off valve quickly—often found in basements or garages per the American Red Cross—is your first defense. This guide equips you with clear, step-by-step DIY strategies, helping you control water damage before calling a local professional.
Table of Contents
- Step 1: Assess The Pipe Damage And Shut Off Water
- Step 2: Gather The Necessary Tools And Materials
- Step 3: Apply Temporary Or Permanent Pipe Repairs
- Step 4: Test The Repair For Leaks And Functionality
- Step 5: Restore Water Supply And Monitor For Issues
Quick Summary
| Key Point | Explanation |
|---|---|
| 1. Shut Off Water Supply Immediately | Locate your main water shut-off valve and turn it clockwise to prevent extensive water damage. |
| 2. Inspect Pipes for Visible Damage | Look for bulging, cracks, or frost in vulnerable areas like basements and attics to assess pipe integrity. |
| 3. Gather Essential Repair Tools | Prepare a toolkit with pipe wrenches, tape, and safety gear to effectively manage repairs and prevent emergencies. |
| 4. Use Temporary Fixes First | Apply waterproof tape or clamps to stop leaks quickly before planning for permanent repairs to reduce long-term damage. |
| 5. Test Repairs Thoroughly | Gradually restore water pressure and check for leaks, monitoring the repaired area over the next few days for any issues. |
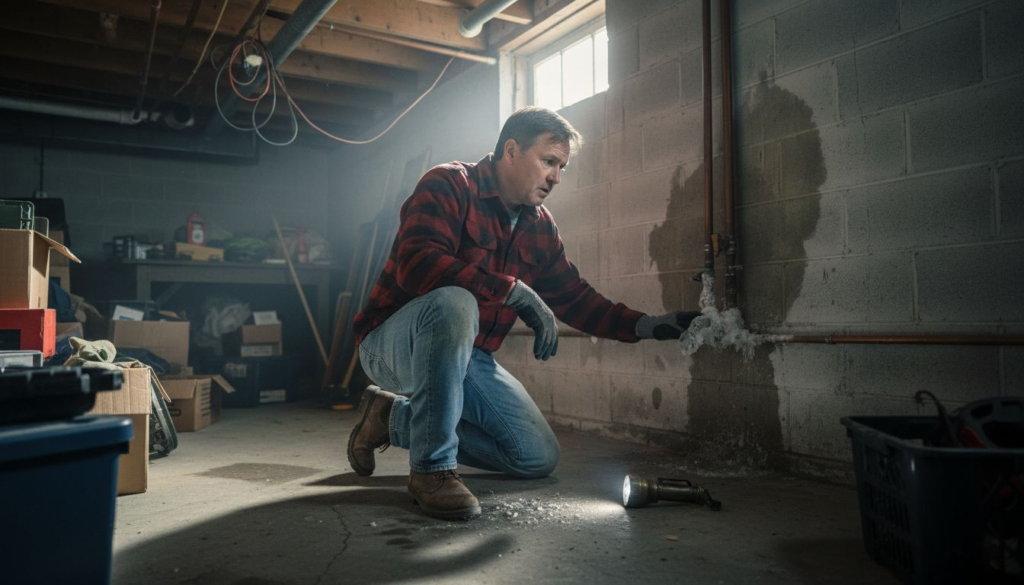
Step 1: Assess the Pipe Damage and Shut Off Water
When facing potential pipe damage, your first priority is stopping water flow and minimizing potential destruction. Identifying the source of damage quickly can save you thousands in repair costs and prevent extensive home water damage.
Start by locating your home’s main water shut-off valve. This critical component is typically found in the basement, garage, or outside near the perimeter of your home. The American Red Cross recommends turning the valve clockwise to completely stop water supply. If you cannot find the valve or feel uncertain about the process, contact a professional plumber immediately.
Carefully inspect your pipes for visible signs of damage. Look for bulging sections, hairline cracks, frost accumulation, or areas where pipes feel unusually cold or brittle. Pay special attention to pipes in unheated areas like basements, attics, and exterior walls, as these are most vulnerable to freezing and potential ruptures.
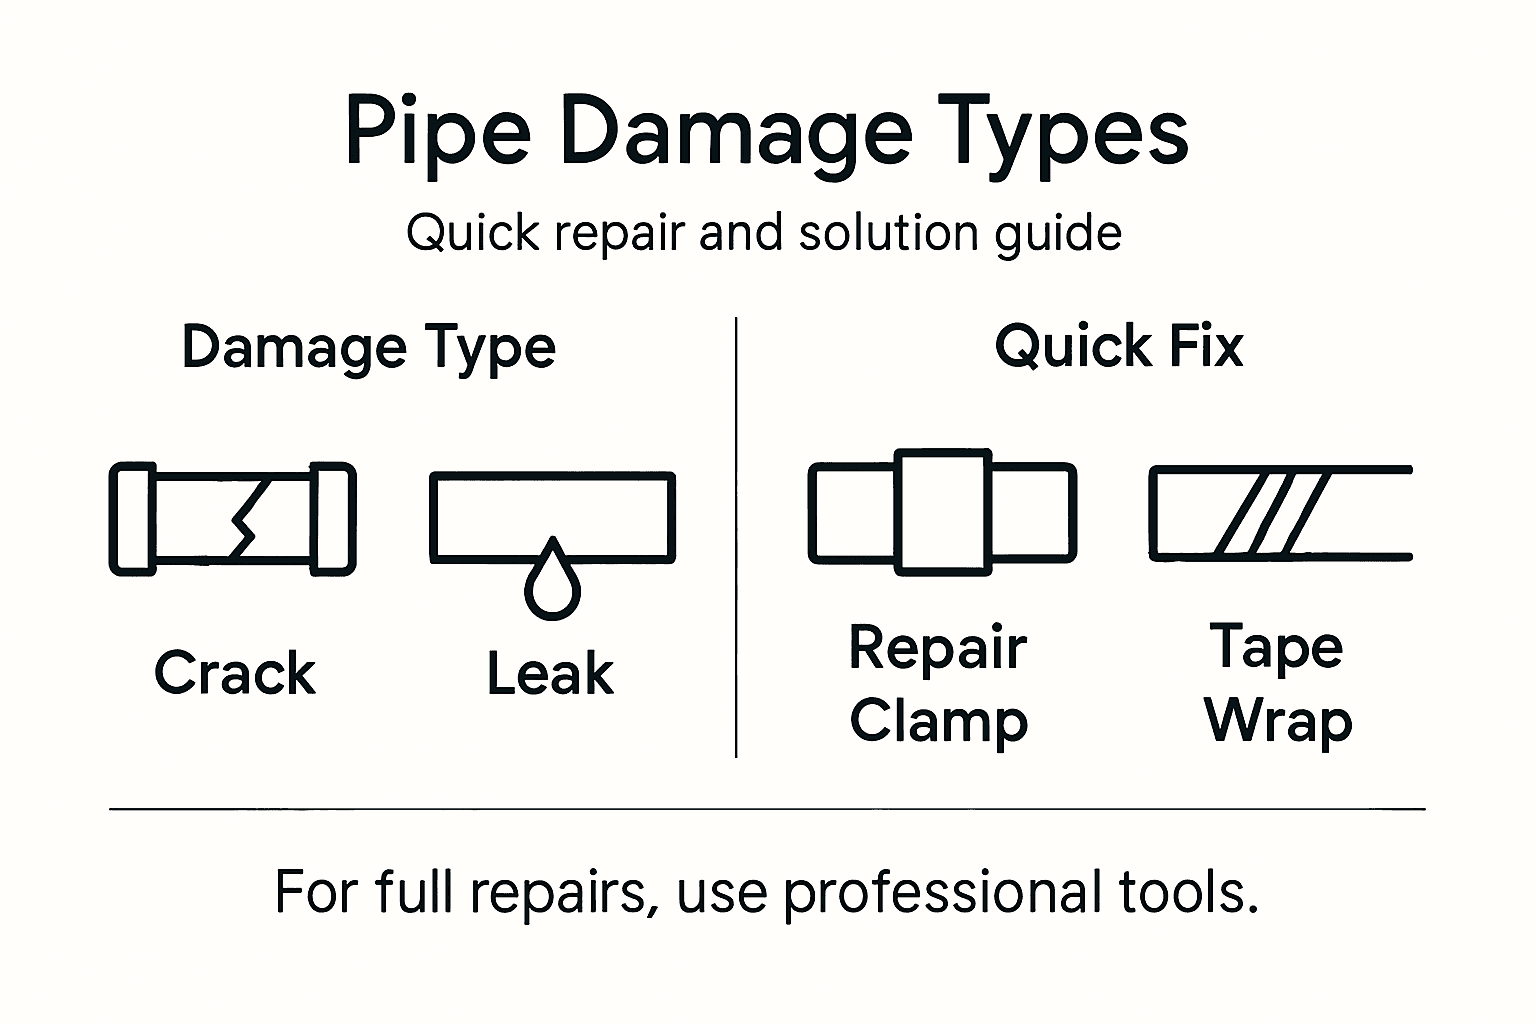
For a quick overview, here are common types of pipe damage and their typical repair approaches:
| Type of Damage | Typical Cause | Best Temporary Solution | Recommended Permanent Repair |
|---|---|---|---|
| Hairline crack | Mild freeze, old age | Waterproof tape | Epoxy putty or pipe section replace |
| Bulging | Freezing, high pressure | Pipe clamps | Replace affected section |
| Puncture/leak | Impact, wear | Pipe repair clamp | Pipe replacement or relining |
| Brittle pipes | Long-term exposure | Section isolation | Full pipe upgrade or replacement |
Pro Tip: Keep a flashlight and wrench near your main water shut-off valve so you can quickly access them during an emergency.
Step 2: Gather the Necessary Tools and Materials
Before starting any pipe repair, assembling the right tools can make the difference between a successful fix and a potential disaster. You will want a comprehensive toolkit that allows you to diagnose, repair, and protect your plumbing system effectively.
Prepare a toolkit that includes essential pipefitter tools like pipe wrenches and adjustable pliers. Key items include adjustable wrenches for gripping pipes, pipe cutters for precise sections, pipe threaders for creating secure connections, and specialized measuring tools like pipefitter’s squares to ensure accurate angles. Additionally, gather protective materials such as pipe wraps, waterproof tape, replacement pipe sections, and sealant to address potential leaks or damage.
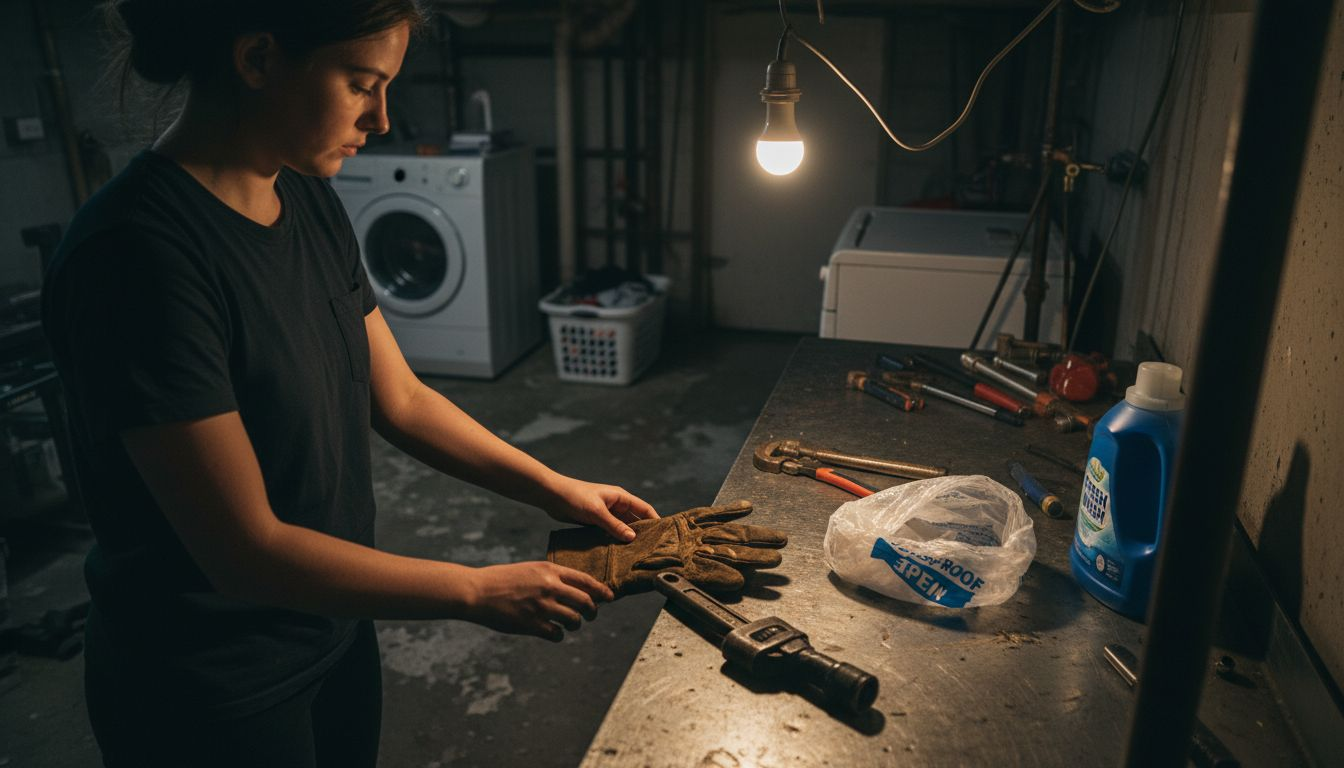
Your toolkit should also include safety equipment like work gloves, safety glasses, and a reliable flashlight to help you navigate tight or dark spaces. Consider having a bucket, towels, and absorbent materials nearby to manage any water spillage during the repair process.
Pro Tip: Organize your tools in a portable toolbox or bag before starting repairs to ensure everything is easily accessible and prevents last minute scrambling.
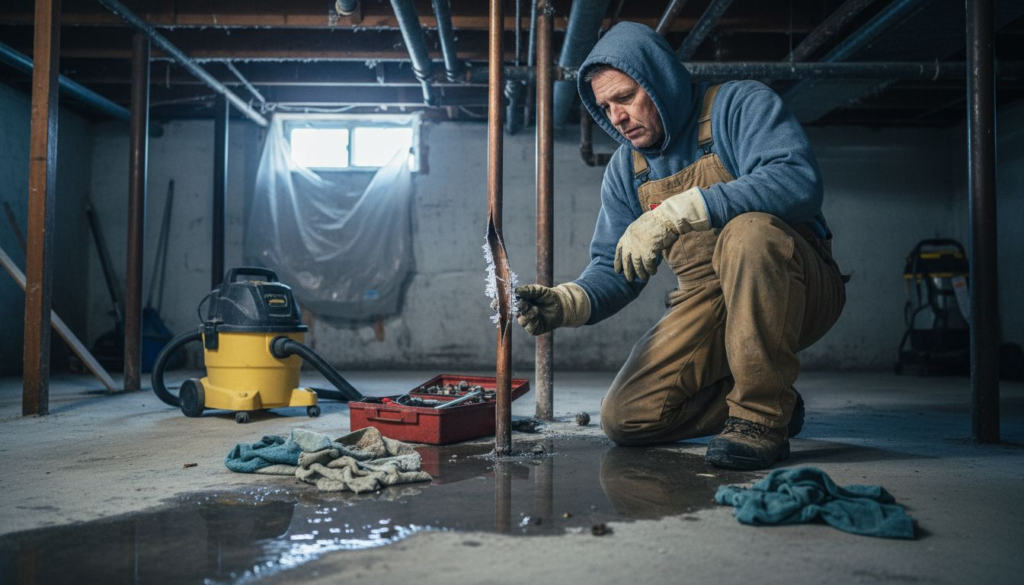
Step 3: Apply Temporary or Permanent Pipe Repairs
Repairing damaged pipes requires a strategic approach that balances immediate needs with long-term solutions. Your repair method will depend on the extent of damage, pipe material, and accessibility of the affected area.
For quick temporary fixes, start with pipe repair clamps or waterproof tape to stop immediate leaks. These solutions can buy you time before a more comprehensive repair. When addressing more significant damage, modern pipe rehabilitation techniques like cured-in-place pipe methods offer seamless solutions that minimize excavation and provide durable results. These advanced techniques involve inserting a resin-lined tube inside the damaged pipe, creating a new structural layer without extensive digging.
Permanent repairs typically involve either replacing the damaged pipe section or using specialized relining technologies. For small punctures or cracks, epoxy putty or pipe repair tape can create a reliable seal. Larger damages might require cutting out the damaged section and replacing it with a new pipe segment, ensuring a precise and secure connection. Always ensure you match the pipe material and use appropriate joining techniques to prevent future leaks.
Pro Tip: Test your repair by gradually increasing water pressure and monitoring for any signs of continued leakage or weakness.
Here’s a summary comparing common temporary and permanent pipe repair methods:
| Repair Method | Durability | Cost Range | Typical Use Case |
|---|---|---|---|
| Waterproof tape | Hours to weeks | Minimal | Minor leaks, quick emergency fix |
| Clamp | Days to weeks | Low | Quick containment, moderate leak |
| Epoxy putty | Months | Medium | Small cracks, localized damage |
| Pipe replacement | Years | Higher | Major rupture, severe damage |
| Pipe relining | Decades | High | Non-invasive, extensive repair |
Step 4: Test the Repair for Leaks and Functionality
After completing your pipe repair, thoroughly testing the repair is crucial to ensure long-term success and prevent potential future water damage. A comprehensive leak test will confirm the integrity of your repair work and provide peace of mind.
Systematic leak detection methods involve carefully monitoring water usage and visually inspecting the repaired area. Begin by turning off all water sources and checking your water meter for any unexpected movement, which could indicate an ongoing leak. Gradually reintroduce water pressure to the repaired section, watching closely for signs of seepage or moisture around the repair site. Look for wet spots, condensation, or any unusual dampness that might suggest an imperfect seal.
Carefully examine the entire length of the repaired pipe, feeling for temperature changes or soft spots that could indicate hidden weaknesses. Pay attention to joint connections and areas adjacent to your repair, as leaks can sometimes manifest in unexpected locations. If possible, use a dry cloth or paper towel around the repair to help highlight any moisture that might escape detection.
Pro Tip: Wait at least 24 hours after your initial repair test before considering the job completely finished, as some leaks may develop slowly and require extended observation.
Step 5: Restore Water Supply and Monitor for Issues
After successfully repairing your pipes, carefully restoring water supply requires methodical attention to prevent potential future complications. Your goal is to reestablish water flow safely and systematically.
Begin by slowly reopening water valves to allow gradual pressure restoration. Sustainable water system management involves carefully monitoring water quality and infrastructure integrity during this process. Start with the main valve, opening it partially and listening for any unusual sounds that might indicate ongoing issues. Check each faucet and fixture individually, allowing water to run for several minutes to flush out any potential debris or air pockets introduced during the repair.
Continue monitoring the repaired section over the next several days, watching for subtle signs of potential problems such as unexplained moisture, pressure changes, or unusual sounds when water flows. Look for any discoloration in water, unexpected drops in water pressure, or recurring dampness around the repaired area. Keep a log of your observations to help track any developing issues and determine whether professional intervention might be necessary.
Pro Tip: Take photos of the repaired area before covering it up and save them for future reference in case you need to explain the repair to a professional plumber.
Expert Help for Fast and Reliable Pipe Repairs in Belleville
Struggling with frozen or leaking pipes can quickly turn into an overwhelming problem that threatens your whole home. If you have tried the DIY pipe repair steps such as shutting off your water supply, using waterproof tape, or applying epoxy putty but still worry about hidden leaks or long-term damage, expert plumbing support is just a call away. Davinroy Plumbing specializes in thorough and professional frozen pipe repair services to stop leaks promptly and prevent costly water damage before it worsens.

Don’t wait for small cracks or bulges to become major emergencies. Take action now by trusting experienced technicians who understand the urgency of restoring your water system safely. Visit Davinroy Plumbing to schedule a consultation or emergency repair. Protect your home and enjoy peace of mind with the best pipe repair solutions Belleville homeowners rely on.
Frequently Asked Questions
How do I find the main water shut-off valve in my home?
To locate your main water shut-off valve, check common areas such as the basement, garage, or outside near your home’s perimeter. If you are unsure, consult a plumbing professional for assistance.
What temporary solutions can I use for a pipe leak?
You can utilize waterproof tape or pipe repair clamps as temporary solutions for a pipe leak. Apply these items directly to the leak to stop water flow until you can arrange for a more permanent repair.
How do I test my pipe repair for leaks after completing it?
To test your pipe repair for leaks, monitor the repaired area after restoring water supply. Gradually increase water pressure and check for any signs of moisture or wet spots around the repair site for at least 24 hours.
What are some common signs of pipe damage I should look for?
Look for visible signs of pipe damage, such as bulging sections, hairline cracks, or frost accumulation. Also, inspect areas that feel unusually cold or brittle, as these are often indicators of frozen pipes or potential ruptures.
What should I do if my pipes are frozen?
If you suspect your pipes are frozen, first shut off the main water supply. Then, carefully inspect the pipes for damage and gently thaw them using a heat source like a hair dryer, ensuring you monitor the area closely to prevent further damage.