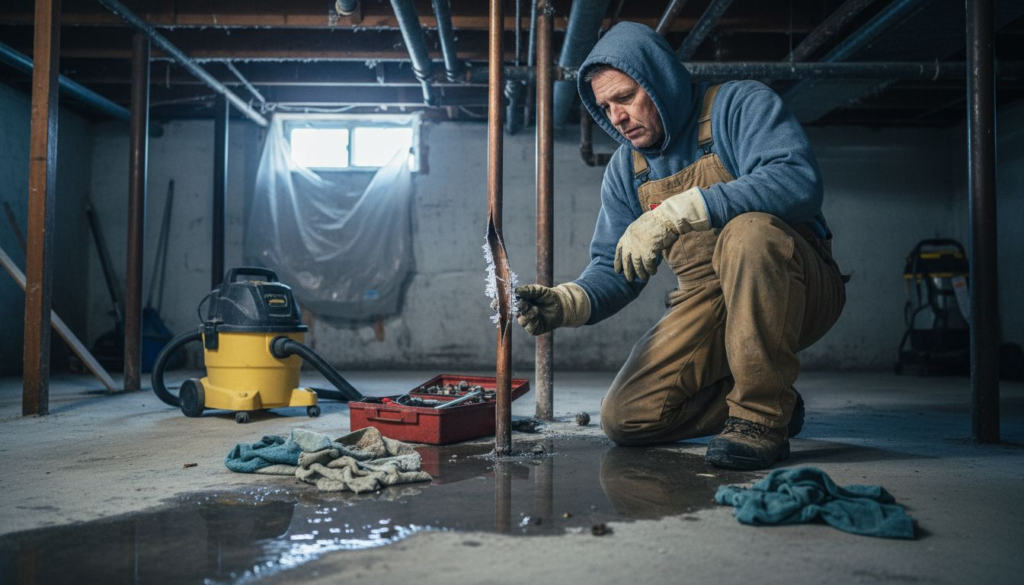
Noticing a leaky faucet or stubborn toilet clog in your Belleville bathroom can feel frustrating and expensive. Many homeowners want to tackle repairs themselves, but safe and effective DIY plumbing starts with the right preparation. By gathering essential tools and prioritizing safety equipment, you can confidently address common issues and protect your home from costly water damage. This guide offers practical steps and expert tips for choosing and using the best plumbing tools and diagnosing bathroom problems before they become bigger headaches.
Table of Contents
- Step 1: Gather Essential Tools And Safety Items
- Step 2: Identify And Isolate Plumbing Issues
- Step 3: Repair Leaky Faucets And Running Toilets
- Step 4: Unclog Drains And Clear Blockages
- Step 5: Test Repairs And Inspect For Leaks
Quick Summary
| Key Point | Explanation |
|---|---|
| 1. Assemble Essential Tools and Safety Gear | Gather a comprehensive toolkit, including wrenches, pliers, and safety items like glasses and gloves, before starting repairs. |
| 2. Identify Plumbing Issues Early | Conduct a visual inspection for signs like stains, moisture, or unusual sounds to prevent costly damage. |
| 3. Properly Repair Common Leaks | Fix leaky faucets and running toilets by replacing washers or flappers; this can save hundreds in water bills. |
| 4. Use Effective Drain Clearing Techniques | Use plungers, boiling water, or a drain snake based on the type of clog to clear blockages efficiently. |
| 5. Test Repairs Thoroughly for Leaks | After repairs, ensure there are no leaks by monitoring water flow and performing thorough post-repair checks. |
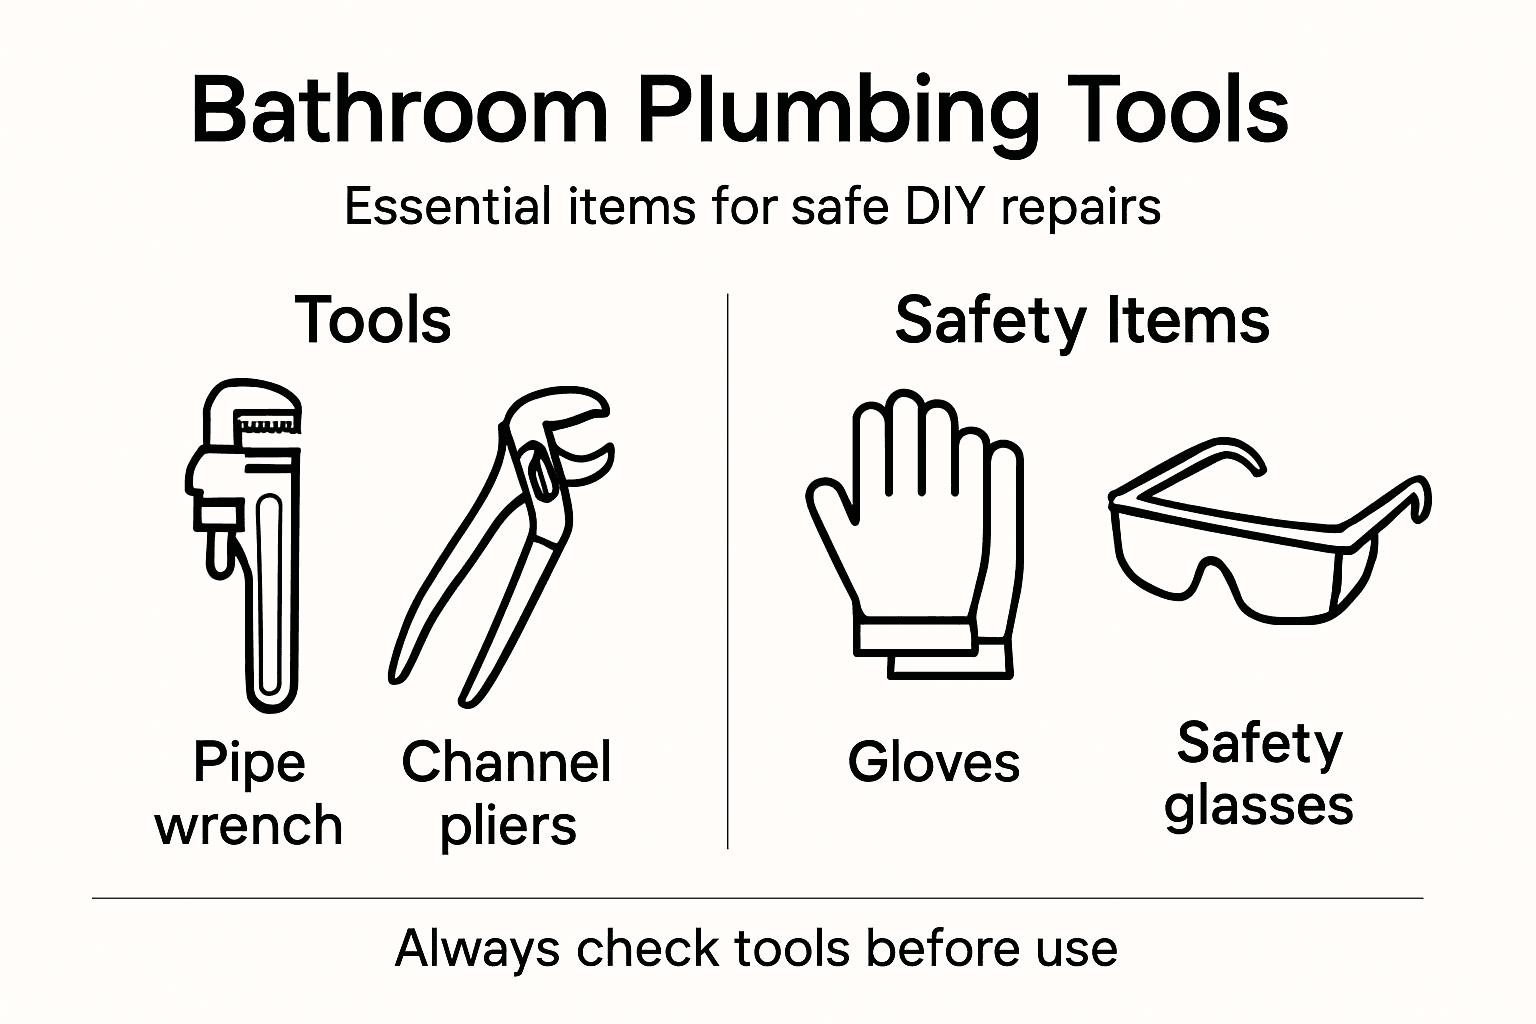
Step 1: Gather Essential Tools and Safety Items
Before diving into bathroom plumbing repairs, you’ll need a comprehensive toolkit and safety gear to ensure a successful and secure project. Proper preparation can save you time, prevent potential injuries, and help you complete repairs efficiently.
Start by assembling the crucial tools recommended by safety experts for hand tool usage. Your essential plumbing repair kit should include:
- Adjustable pipe wrench: For gripping and turning pipes and fittings
- Channel lock pliers: Helps with various gripping tasks
- Screwdriver set: Phillips and flathead in multiple sizes
- Plunger: For clearing minor toilet and drain clogs
- Plumbing auger: For more challenging blockages
- Hacksaw: Useful for cutting pipes if necessary
Alongside your tools, invest in critical safety equipment to protect yourself during repairs. Always wear:
- Safety glasses to shield your eyes from debris
- Waterproof work gloves to protect your hands
- Non-slip work boots with good traction
Safety isn’t just about having tools. It’s about using them correctly and protecting yourself from potential hazards.
Before starting any repair, inspect your tools thoroughly. Check for any damage, rust, or wear that could compromise their performance or your safety. Replace worn tools immediately to prevent accidents.
Pro tip:Keep your tools organized in a dedicated toolbox or rolling cart to ensure quick access and prevent misplacing critical equipment during repairs.
Compare safety gear effectiveness for common plumbing hazards:
| Safety Item | Protects Against | Extra Benefit |
|---|---|---|
| Safety glasses | Flying debris, splashes | Prevents eye injuries |
| Waterproof gloves | Chemicals, sharp parts | Keeps hands dry, prevents cuts |
| Non-slip boots | Slips on wet floors | Reduces risk of falls |
Step 2: Identify and Isolate Plumbing Issues
Detecting and localizing bathroom plumbing problems requires a systematic approach that helps you pinpoint issues before they escalate into costly repairs. Understanding continuous leak isolation techniques can save you significant time and money.
Start by conducting a comprehensive visual inspection of your bathroom plumbing system. Look for these critical signs of potential problems:
- Water stains on walls or ceilings
- Unusual moisture around pipes and fixtures
- Discoloration or warping near plumbing connections
- Unexplained increases in water bill
- Strange sounds like dripping or gurgling
To effectively isolate the specific issue, you’ll need to narrow down the potential sources:
- Check individual fixture shut-off valves
- Examine pipe connections for visible leaks
- Test water pressure in different areas
- Listen for unusual sounds near pipe junctions
Detecting plumbing issues early can prevent significant structural damage and expensive repairs.
Pay special attention to areas prone to water damage like under sinks, around toilets, and near shower enclosures. Use a flashlight to illuminate dark spaces and look for subtle moisture indicators that might signal hidden problems.
Pro tip:Keep a detailed notebook documenting your observations, including dates, locations, and specific symptoms to help track potential developing issues.
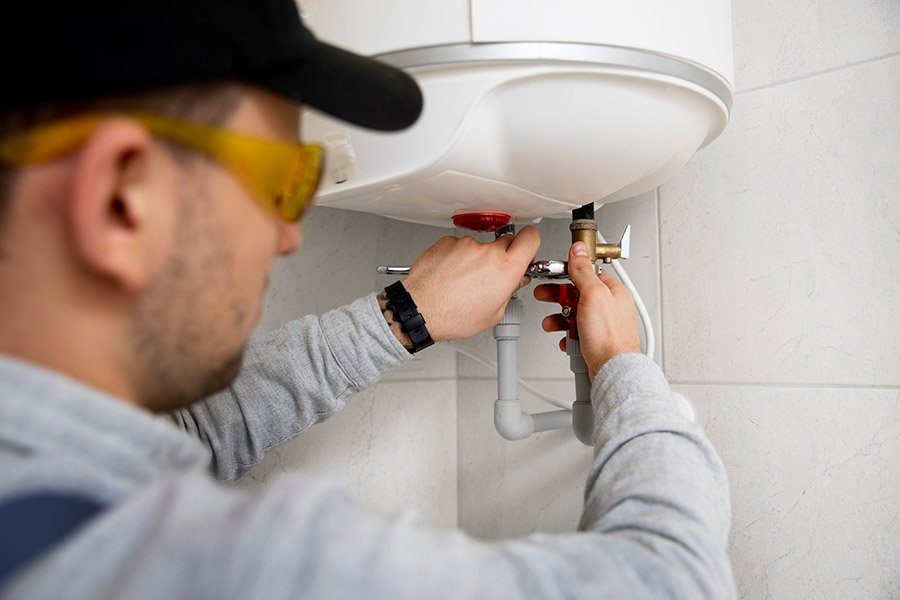
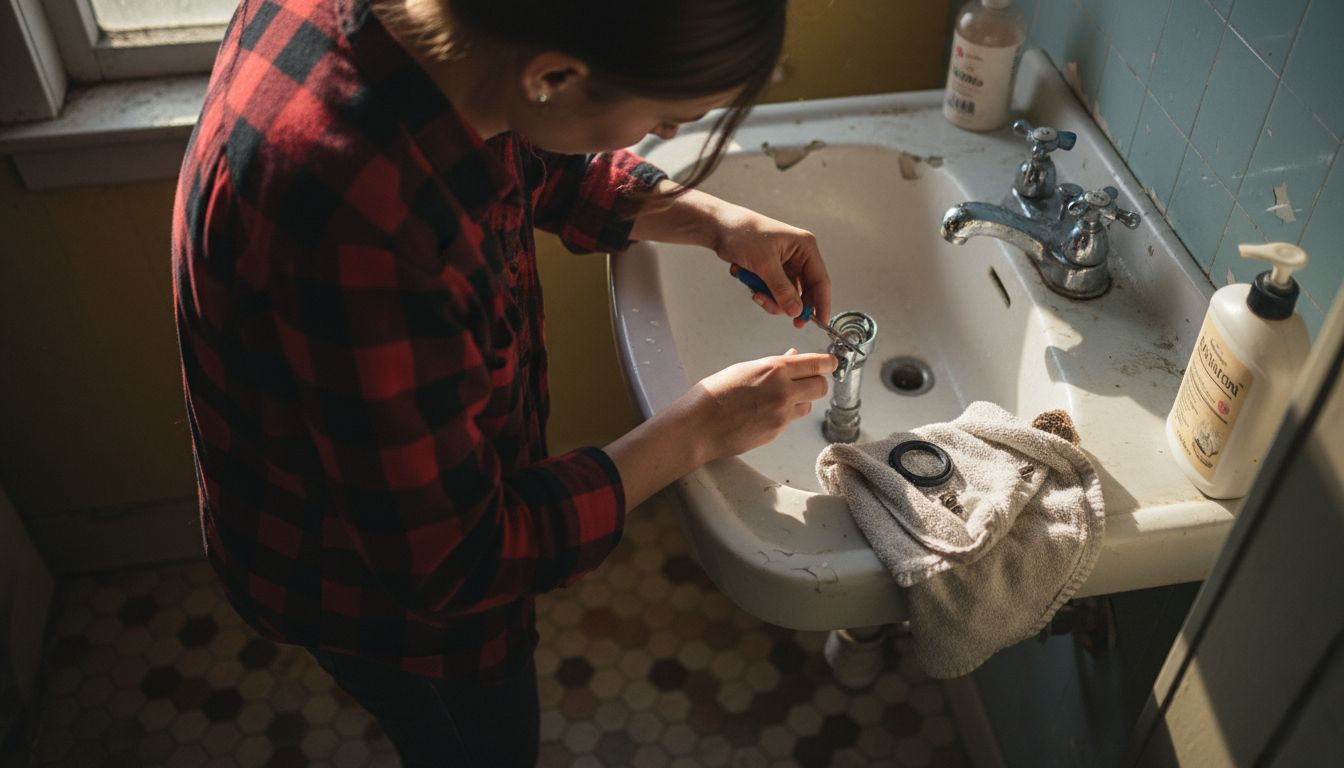
Step 3: Repair Leaky Faucets and Running Toilets
Fixing bathroom plumbing leaks can save you hundreds of dollars in water bills and prevent potential water damage to your home. Learn how to diagnose and repair common household leaks efficiently and confidently.
For leaky faucets, start by identifying the type of leak and gathering the right tools:
- Compression faucets: Typically require washer replacement
- Cartridge faucets: May need entire cartridge swap
- Ceramic disk faucets: Often require seal cleaning or replacement
- Ball-type faucets: Might need multiple small component repairs
To diagnose a running toilet, perform these key diagnostic steps:
- Check the toilet flapper for proper seal
- Inspect the fill valve for consistent water level
- Look for any visible cracks in tank components
- Test for silent leaks using food coloring method
A single running toilet can waste up to 200 gallons of water daily, making timely repairs crucial.
Turn off water supply before beginning any repair. For faucets, disassemble carefully and replace worn washers or seals. In toilets, replace faulty flappers or adjust fill valves to stop continuous running.
Pro tip:Always purchase replacement parts that exactly match your fixture’s make and model to ensure proper fit and function.
Here’s a summary of key bathroom plumbing issues and the best method to address them:
| Plumbing Problem | Common Cause | Most Effective Solution | Long-term Prevention |
|---|---|---|---|
| Leaky faucet | Worn seal or washer | Replace washer/cartridge | Use quality parts, regular inspection |
| Running toilet | Faulty flapper or valve | Replace flapper or adjust valve | Annual tank maintenance |
| Drain clog | Hair/soap buildup | Plunger or drain snake | Install drain screens |
| Hidden leak | Cracked pipe or seal | Inspect visually & repair leak | Monitor bills, use leak sensors |
Step 4: Unclog Drains and Clear Blockages
Tackling bathroom drain clogs requires strategic approaches that save you money and prevent potential plumbing disasters. Learn how to unclog bathtub drains effectively using simple household methods and professional techniques.
Start by identifying the type and severity of your drain blockage:
- Hair and soap scum buildup
- Mineral deposits
- Foreign objects
- Grease accumulation
- Organic material blockages
Use these systematic methods to clear different types of clogs:
- Plunger technique for initial blockage removal
- Boiling water for minor organic clogs
- Baking soda and vinegar mixture for light buildup
- Drain snake for more stubborn obstructions
Preventative maintenance is always easier and cheaper than emergency plumbing repairs.
Wear protective gloves and work in a well-ventilated area when attempting drain clearing. For persistent clogs, use a manual drain snake to physically remove blockages, being careful not to damage pipe surfaces.
Pro tip:Install drain screens in sinks and showers to catch hair and debris before they become problematic clogs.
Step 5: Test Repairs and Inspect for Leaks
After completing your bathroom plumbing repairs, thorough testing is crucial to ensure your work resolves the original issue. Learn how to check for indoor leaks systematically and confidently.
Implement these comprehensive leak detection methods:
- Visual inspection for water stains or moisture
- Water meter monitoring for unexpected usage
- Sound check for dripping or running water
- Pressure testing of repaired connections
- Thermal imaging for hidden moisture
Conduct a detailed post-repair inspection using these steps:
- Run water through repaired fixtures
- Check for immediate leaks or drips
- Monitor water pressure and flow
- Examine surrounding areas for moisture
- Wait 24 hours and recheck connections
Small leaks ignored today can become expensive repairs tomorrow.
Turn on all repaired fixtures and observe carefully for any signs of continued leakage. Pay special attention to pipe joints, connections, and areas previously showing moisture or damage.
Pro tip:Use a dry white paper towel around repaired areas to quickly detect even minor moisture that might indicate an incomplete repair.
Take Control of Your Bathroom Plumbing Repairs with Professional Support
DIY plumbing fixes like unclogging drains or repairing running toilets can save money but also bring frustration and risks if you miss hidden leaks or use worn tools. The Bathroom Plumbing Repair Guide for Homeowners highlights how essential it is to identify issues early and follow safe repair techniques yet sometimes expert help is the smartest choice to avoid costly damage. Protect your home by letting experienced professionals handle stubborn leaks, frozen pipes, or complex faucet repairs.
Don’t let plumbing challenges disrupt your peace of mind. At Davinroy Plumbing, we offer reliable plumbing services, hot water tank maintenance, toilet repairs, and frozen pipe fixes in the Belleville, Illinois area. Act now to ensure thorough inspections and lasting repairs backed by trusted local expertise. Contact us today to schedule your service and keep your bathroom plumbing running smoothly.
Frequently Asked Questions
What tools do I need for bathroom plumbing repairs?
To repair bathroom plumbing effectively, you need essential tools like an adjustable pipe wrench, channel lock pliers, a screwdriver set, a plunger, a plumbing auger, and a hacksaw. Gather these items before starting your repairs to ensure you have everything handy during the process.
How can I identify leaks in my bathroom plumbing?
You can identify leaks by performing a visual inspection for water stains, unusual moisture, and discoloration around pipes and fixtures. Pay attention to areas under sinks and around toilets, and use a flashlight to help spot subtle indicators of leaks.
What are the steps to fix a leaky faucet?
To fix a leaky faucet, first determine the type of faucet you have, then turn off the water supply. Disassemble the faucet to replace worn washers or seals, and reassemble the faucet once repairs are complete to stop the leak effectively.
How do I unclog a bathroom drain?
To unclog a bathroom drain, start by using a plunger to remove the blockage. For stubborn clogs, apply boiling water or a baking soda and vinegar mixture, and consider using a manual drain snake for more persistent obstructions.
How can I test my plumbing repairs for leaks?
You can test your plumbing repairs by running water through the repaired fixtures and closely observing for any signs of leaks or drips. Additionally, wait 24 hours after repairs and check the surrounding areas for moisture to ensure everything is sealed properly.
What preventive measures can I take to avoid future plumbing issues?
To avoid future plumbing issues, regularly inspect your plumbing fixtures and connections, and clean drains to prevent buildup. Installing drain screens can also help catch debris before it leads to clogs, keeping your plumbing system in good shape.