Plumbing emergencies strike fast, causing stress for many American homeowners in Belleville, Illinois. Water damage can escalate quickly if steps are missed, with more than 50 percent of insurance claims linked to plumbing leaks nationwide. Knowing the right emergency plumbing workflow makes a real difference. You will learn practical steps to safeguard your property and minimize costly repairs when urgent issues threaten your home.
Table of Contents
- Step 1: Assess Plumbing Emergency And Shut Water Off
- Step 2: Identify Source And Severity Of Leak Or Blockage
- Step 3: Deploy Temporary Fixes To Prevent Further Damage
- Step 4: Contact Professional Plumbers And Document Problem
- Step 5: Inspect Repairs And Restore Water Safely
Quick Summary
| Key Insight | Explanation |
|---|---|
| 1. Know Your Water Shut-Off Valve | Familiarize all household members with the main shut-off valve’s location and operation to quickly minimize water damage during emergencies. |
| 2. Identify Leak Source Promptly | Conduct a thorough visual inspection to detect leaks early, noting signs like water stains, musty odors, and unusual sounds which may indicate serious damage. |
| 3. Utilize Temporary Repairs | Employ waterproof pipe tape or clamps to manage small leaks and prevent further damage until a professional can address the issue. |
| 4. Document Plumbing Issues | Keep detailed notes and photos of plumbing problems and temporary repairs to facilitate communication with plumbers for effective solutions. |
| 5. Inspect Repairs Before Use | After repairs, carefully examine the work and gradually restore water flow while monitoring for leaks to ensure everything is functioning correctly. |
Step 1: Assess Plumbing Emergency and Shut Water Off
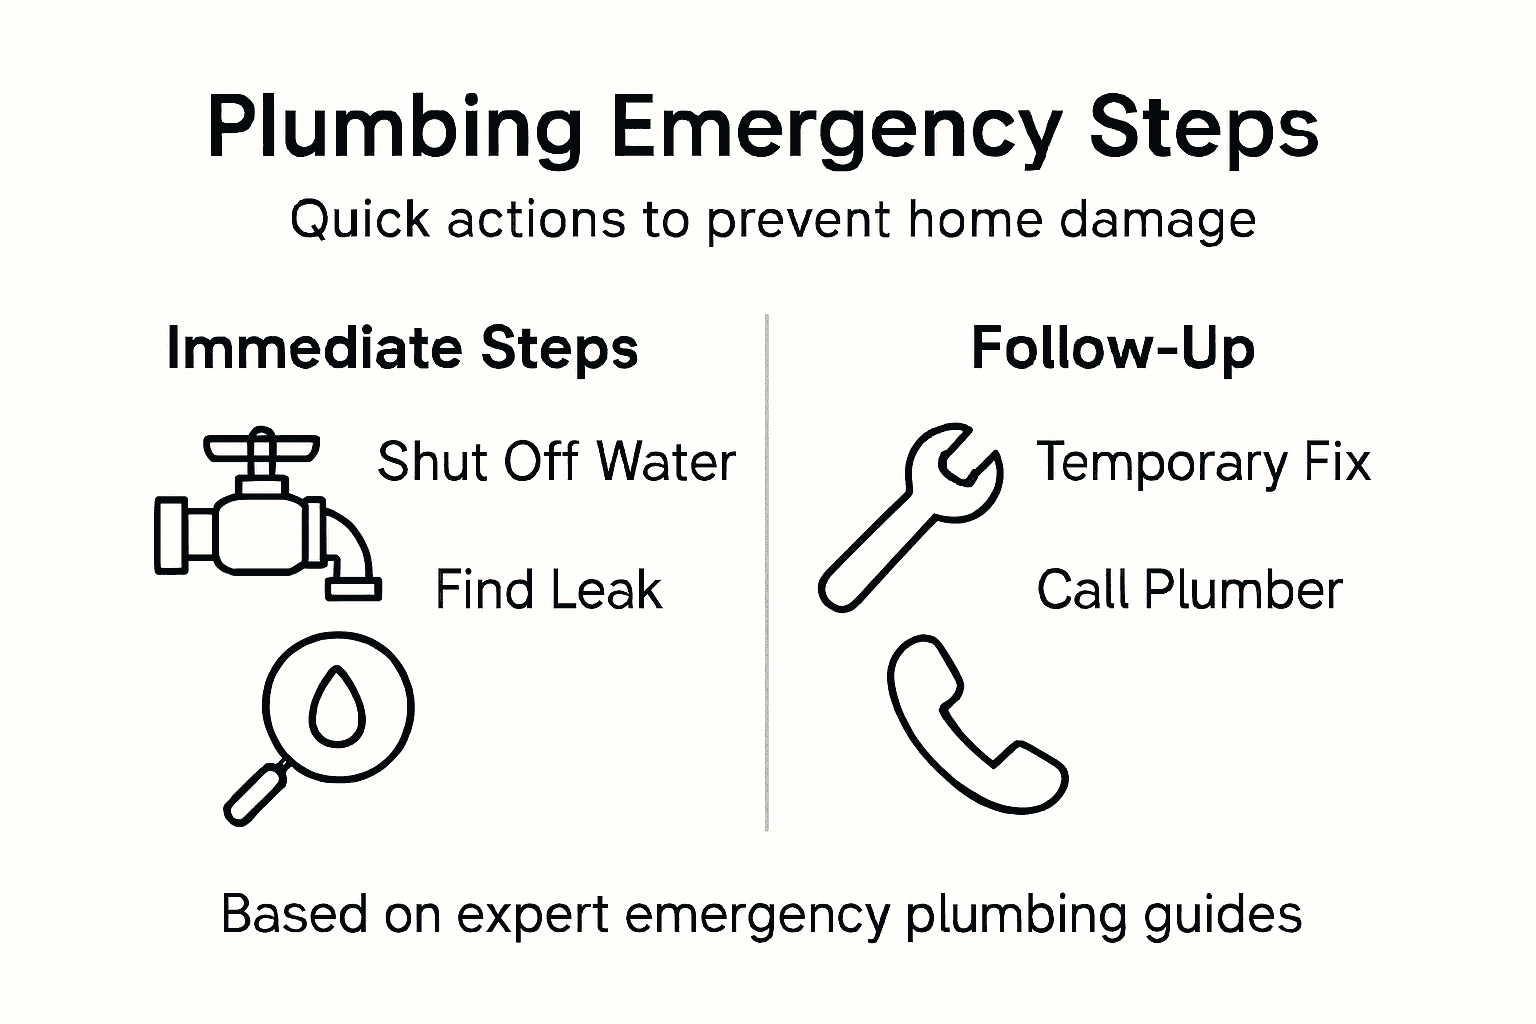
When a plumbing emergency strikes, your primary goal is swift action to prevent extensive water damage. Understanding how to quickly locate and shut off water valves can mean the difference between a minor incident and a costly home repair.
First, identify your home’s main water shut-off valve. This critical valve is typically located near the point where the water line enters your home typically in basements, garages, crawl spaces, or outside near the foundation. Turn the valve clockwise to completely stop water flow. If you cannot locate the valve or are unsure, contact your local water provider who can shut off water at the street level. After closing the main valve, open faucets and flush toilets to drain remaining water from pipes, which helps reduce internal pipe pressure and potential burst pipe damage.
Make sure all household members know the location and operation of the main water shut-off valve before an emergency occurs. Quick response can dramatically minimize potential water damage and protect your property from extensive repairs.
Pro tip: Keep a wrench or specialized valve-turning tool near your main water shut-off valve to ensure you can quickly turn it in an emergency situation.
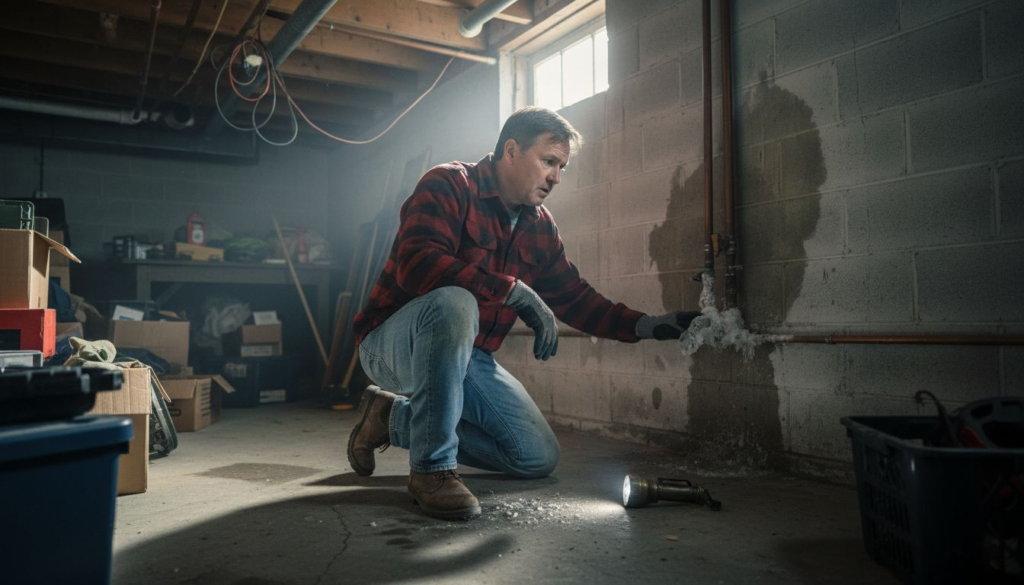
Step 2: Identify Source and Severity of Leak or Blockage
Quickly identifying the source and extent of a plumbing issue is crucial to preventing extensive water damage and costly repairs. Effective leak detection techniques can help you assess the problem and determine your next steps.
Start by visually inspecting the area around the suspected leak. Look for water stains, pooling water, dampness on walls or floors, or unusual wet spots. Pay attention to potential sources such as pipes under sinks, behind toilets, near water heaters, and in basement or crawl spaces. Listen for unusual sounds like dripping or running water when all fixtures are turned off. Some leaks may be hidden within walls or underground, so watch for signs like unexplained increases in water bills, musty odors, or visible mold growth.
To determine the severity of the leak, consider factors like water volume, location, and potential structural impact. Small drips from a visible pipe might be a minor repair, while significant water flow or hidden leaks could indicate serious plumbing system failures that require immediate professional intervention.
Here’s a summary of common plumbing emergency signs and their potential impacts:
| Symptom | Possible Cause | Impact on Home |
|---|---|---|
| Water stains | Leaking pipe or valve | Wall or floor damage |
| Musty odors | Hidden water or mold | Health risks, structural rot |
| Mold growth | Persistent moisture | Costly remediation needed |
| Unusual water sounds | Pipe leaks or bursts | Increased water bills |
Pro tip: Keep a flashlight and moisture meter handy to help you thoroughly investigate potential leak locations and assess water damage extent.
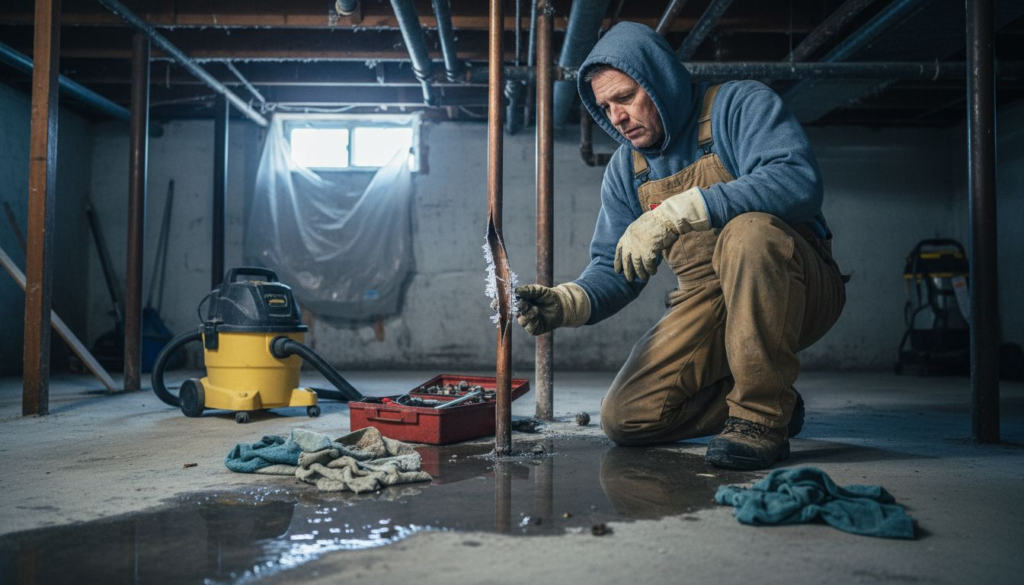
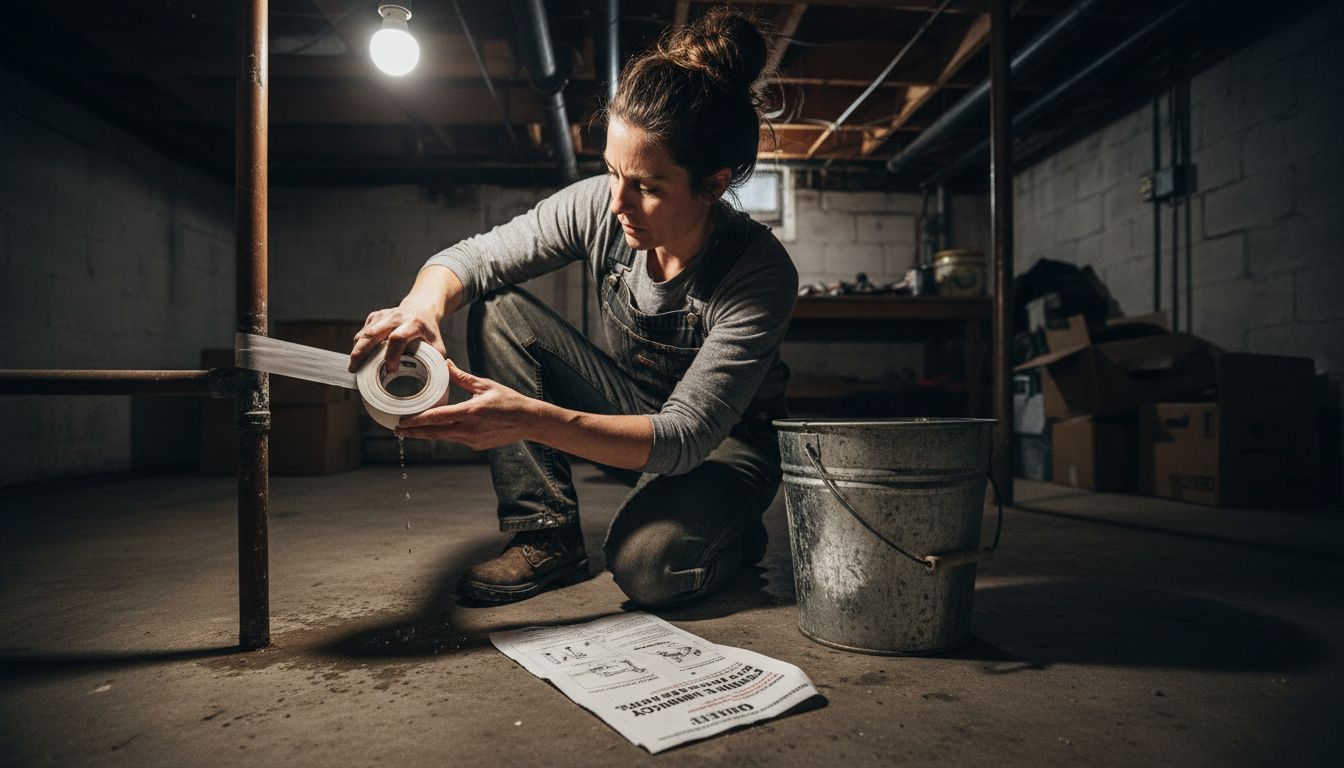
Step 3: Deploy Temporary Fixes to Prevent Further Damage
When facing a plumbing emergency, your immediate goal is to minimize water damage and protect your home from potential structural issues. Temporary emergency repairs can help you control the situation until professional help arrives.
For pipe leaks, start by using waterproof pipe tape or rubber pipe repair clamps to seal small ruptures temporarily. Place buckets or containers under active leaks to catch dripping water and prevent floor damage. If you have exposed pipes near the leak, wrap them with towels or rags to absorb moisture and slow water spread. For frozen pipes, carefully apply gentle heat using a hair dryer or heating pad on low settings, moving the heat source back and forth to avoid concentrated heat that could cause pipe damage.
Remove any standing water quickly using mops, towels, or a wet vacuum to prevent mold growth and further structural damage. Open windows and use fans to improve air circulation and start the drying process. Be sure to wear protective gloves and clothing when handling water damaged areas to protect yourself from potential contaminants.
Compare typical temporary plumbing fixes by method and effectiveness:
| Repair Method | Best Use Case | Duration of Effect |
|---|---|---|
| Waterproof pipe tape | Small cracks/leaks | Several hours |
| Rubber repair clamps | Minor pipe ruptures | Up to several days |
| Towels/rags on pipes | Quick moisture absorption | Short-term delay |
| Wet vacuum for cleanup | Standing water removal | Immediate, as needed |
Pro tip: Keep a emergency plumbing repair kit with waterproof tape, pipe clamps, towels, and a wet vacuum in an easily accessible location for quick response during unexpected plumbing incidents.
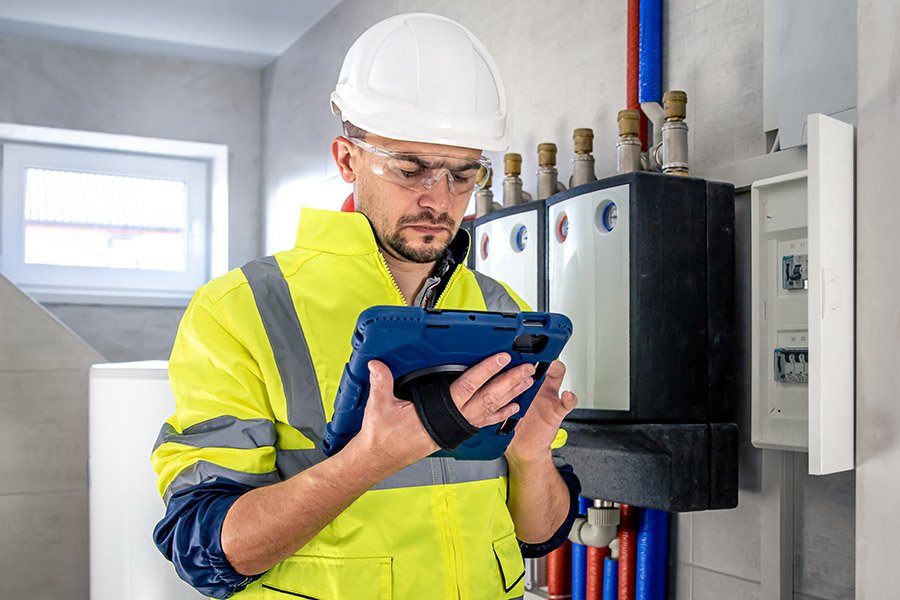
Step 4: Contact Professional Plumbers and Document Problem
Once you have implemented temporary fixes, your next crucial step is connecting with professional plumbers who can provide comprehensive repair solutions. Professional plumbers are trained to diagnose and repair complex system failures that go beyond simple temporary patches.
Start by gathering all relevant documentation about the plumbing issue. Take clear, well-lit photographs of the damaged area from multiple angles, capturing the extent of water damage, pipe ruptures, or blockages. Write down a detailed timeline of events including when you first noticed the problem, what temporary repairs you have already attempted, and any observations about water flow, unusual sounds, or visual changes in your plumbing system. When calling a plumbing professional, provide these detailed notes and images to help them understand the scope of the issue quickly and accurately.
When selecting a plumber, prioritize licensed professionals with emergency response capabilities. Ask about their response time, diagnostic process, and estimated repair costs. Request a written estimate before work begins and confirm their insurance and warranty coverage for the proposed repairs. If possible, get recommendations from neighbors or check online reviews for local plumbing services in the Belleville area.
Pro tip: Keep a dedicated folder with your home’s plumbing diagrams, repair history, and emergency contact information to streamline communication during urgent plumbing situations.
Step 5: Inspect Repairs and Restore Water Safely
After professional plumbers complete the repair work, your next critical step is carefully inspecting the repairs and ensuring water can be safely restored to your plumbing system. Plumbing code standards require thorough verification before returning your system to full operational status.
Begin by visually examining the repaired areas, checking for any signs of potential leakage, improper sealing, or structural inconsistencies. Look for clean, tight connections between pipe sections, appropriate joint alignments, and no visible gaps or stress points. Request that the plumbing professional walk you through the repairs, explaining what was fixed and demonstrating the integrity of the work. Pay special attention to areas near the original damage, ensuring that surrounding pipes and connections remain stable and undamaged.
Before fully restoring water flow, gradually reintroduce water pressure by slowly opening the main water valve. Listen carefully for any unusual sounds and watch for unexpected water movement or dripping. Open individual fixture valves one at a time, checking each connection point and monitoring water flow for consistency and clarity. If you notice any irregularities or suspect additional issues, contact your plumbing professional immediately for further assessment.
Pro tip: Keep a flashlight and dry towels nearby during water restoration to quickly identify and address any unexpected leaks or water seepage.
Act Fast to Protect Your Home with Expert Emergency Plumbing Help
Plumbing emergencies can cause serious damage if not handled quickly and correctly. The steps in this guide emphasize the importance of shutting off water valves fast, identifying leaks, applying temporary fixes, and working with professionals to get repairs done right. If you are facing sudden pipe bursts, leaks, or frozen pipes in Belleville Illinois, don’t wait until small issues turn into costly repairs.
Davinroy Plumbing offers trusted plumbing services, including expert frozen pipe repair and reliable toilet repair designed to stop water damage fast and restore your home’s safety. Our licensed professionals respond quickly and ensure thorough inspections and repairs so you can resume daily life with confidence. Visit Davinroy Plumbing now to schedule prompt service and prevent further damage before it worsens.
Take action today to secure your property and avoid emergency stress. Immediate response paired with professional care is the best way to protect your home investment.
Frequently Asked Questions
What should I do first in a plumbing emergency?
To address a plumbing emergency effectively, your first step is to locate and shut off your home’s main water valve. Turn the valve clockwise to stop water flow and minimize potential damage.
How can I identify the source of a plumbing leak?
Start by visually inspecting areas around sinks, toilets, and water heaters for water stains or dampness. Listen for sounds of dripping or running water to help pinpoint the leak’s origin.
What temporary fixes can I apply to stop a leak until a plumber arrives?
You can use waterproof tape or rubber clamps to seal minor leaks temporarily and place buckets under dripping pipes to catch water. Act quickly to mitigate damage and keep your repair tools handy for immediate action.
What documentation should I prepare before contacting a plumber?
Gather clear photographs of the damaged area and a detailed timeline of events, including when you noticed the issue and any temporary repairs you’ve made. This information will help the plumber assess the situation more efficiently.
How should I inspect plumbing repairs after they’re completed?
After repairs, visually check the fixed areas for any signs of leaks or improper sealing. Gradually reintroduce water pressure and monitor for any irregularities during this process to ensure everything is functioning correctly.
What preventative measures can I take to avoid future plumbing emergencies?
Regularly inspect your plumbing system for signs of wear, such as rusty pipes or corrosion. Keeping a plumbing repair kit and ensuring all household members know how to shut off the main valve can significantly reduce the impact of any future emergencies.
Recommended
- Belleville’s Emergency Plumbing Heroes: A Quick Guide – Davinroy Plumbing and Mechanical
- When Your Garbage Disposal Needs a Lifeline: Emergency Repair Solutions – Davinroy Plumbing and Mechanical
- Toilet Troubles? Home Depot’s Unclogging Tips to the Rescue! – Davinroy Plumbing and Mechanical
- Don’t Get Soaked: Best Water Leak Detectors Reviewed – Davinroy Plumbing and Mechanical